EATON SVX9000 Training Lesson 2: Basic Parameter Programming And Startup – VFDs
About This Video
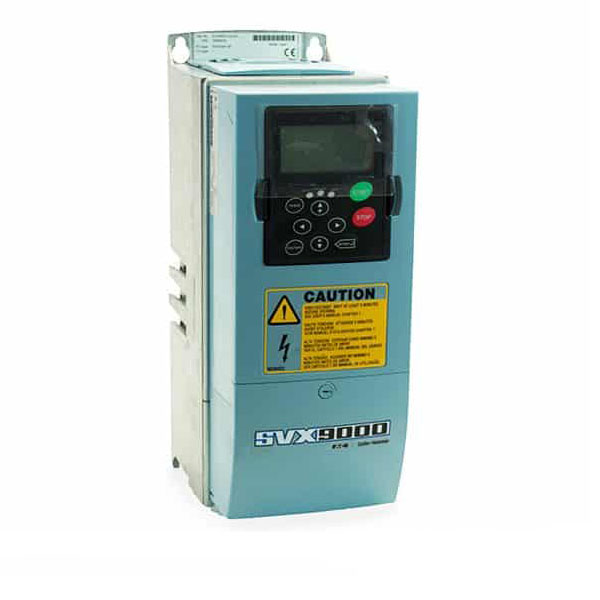
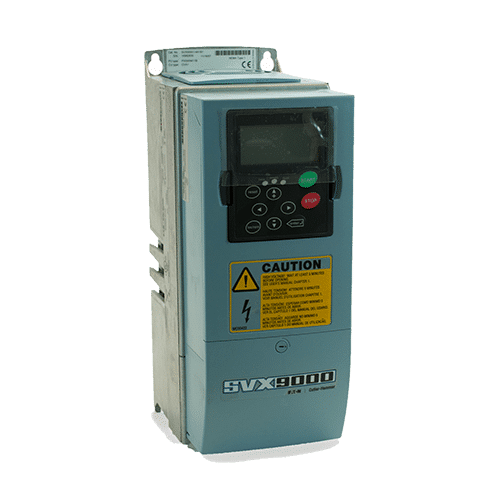
This video covers the essential parameters that will need programmed when commissioning and starting up the EATON SVX9000 Variable Frequency Drive. These parameters will be set for most applications. The most important parameter that many people forget to place is the motor overcurrent parameter. This parameter protects your motor from pulling more current than it is rated for.
The EATON SVX9000 Variable Frequency Drive is an extremely user friendly AC Motor Drive. This is one of the reasons we enjoy selling it to our customers. This is mostly because we offer free technical support and training to all of our customers who purchase from us.
Video Transcript
Hello everyone my name is Craig Chamberlain with precision electric at precision-elec.com. Your automation service center. Drives, motors, controls, we’ve done it for over 30 years. If you have any questions, don’t hesitate to give us a call.
Today’s video we’re gonna be covering the next episode of the SVX 9000 series variable frequency drive. We’re actually going to be commissioning it in this video and running it straight off of the keypad. We’re not wiring anything to the terminal strip just yet but we at least get a motor running and that’s kind of fun right!
On a different note, we do repair these drives quite a few of them. So if you do have an SV X 9000 in your facility and it’s in need of repair; anything ranging from the smaller to the extremely large, we’ve repaired them all. So feel free to give us a call.
So let’s get this thing started! So once you power up your SP X 9000 you will be greeted for the first time with the startup wizard and it tells me to press ENTER so I’m going to press ENTER. For my language, I’m going to choose English I was not able to learn another language. Application basic: now this is essentially what’s in your application manual in your application macro settings. So, let me go ahead and pull up that application manual. The essential basic application is as follows: essentially, it’s got this parameter list with these default parameter that’ll be changed. On the left-hand side of that page in your application manual you’re gonna see all the wiring associated with
that macro. now we’re not wiring anything just yet but later on we’re gonna reference this when we actually do our wiring.
So, for starters we’re just going to start with basic and press enter and it says setup starts press enter. Now I get to choose my minimum frequency. That’s my minimum speed of my motor. If I wanted to say for example, never run lower than 30 Hertz I could set that here but in my application I’m gonna leave it at zero so that I can actually stop the motor if I want to. For maximum frequency, I’m gonna go ahead and set
mine to 60 Hertz because that’s actually the rated frequency on my motors nameplate. So, I’m gonna press ENTER for that one. For my acceleration time the default is three seconds which can be pretty aggressive for some applications. Obviously I don’t have my motor connected to a load so three seconds is more than adequate; I could probably even do it faster. But for some people if you’re not sure how much of a load or how aggressive your load is you can start this at a default 20 seconds or even 60 seconds just to see how your load responds. And you can always go in and change it later so I’m gonna press ENTER on 3 seconds for Excel and then D celltime comes up that’s how how long it takes for it to decelerate down to a lower speed. I’m gonna leave mine at 3 seconds. The same rule applies here you can do 20 seconds or 60 seconds just to try it out and extend it even further if you want. Next is my current limit. Current limit is basically going to be on your motors nameplate and you’re gonna take your motors nameplate and you’re gonna multiply it by one and a half. So, for example my motor is rated for two amps but I want my current limit to be a hundred and fifty percent of that so that’s actually going to be; if I do the math in my head, I believe it is, yes it is, three amps. So I’m gonna hold the up arrow key until I get to three amps. I’m gonna press Enter. My motors nameplate voltage, I’m gonna set at 230 volts again that’s what’s on my nameplate. My motors nameplate frequency, same it’s gonna be 60 Hertz. Again that’s on my nameplate. Motors nameplate speed: 1720 rpm, that is also correct. I’m gonna press ENTER again. And now here’s my note motor nameplate current, this is what I’m actually going to set my motors current. So again this is different than your overload, this is so the drive knows both your motors current and your overload setting. Press ENTER again. Now I’m getting a warning that says input phase supervision. Now this is because if you watch my previous video I’m actually running this drive on single-phase input for this demo. When you have three phase coming in, you’re not gonna get this warning. I can actually turn that off later if I wish. Finally it’s asking me if I want to repeat my setup, I’m gonna say no. And setup is done! Press enter.
So, now that weve set it up lets go ahead and start it. Okay so now that we have the setup, essentially, I press the start button and it’s going to attempt to speed up at my rated speed that I’ve set with my keypad. Now if I want to change my speed, I can actually use these up and down arrow keys to change my speed. Assuming I’m in the right menu but right now I’m not in the right menu, I actually have to use these left and right arrow keys first to get to my output frequency. Right now it’s set to forty four point four Hertz. So if I press the down key, it’ll switch to keypad reference and you’ll notice the numbers start to go down. If I hold it down it goes down a lot faster than if I just press it one at a time. If I press it one at a time it just does it in tenths which is pretty slow it would take a while. That’s more for dialing in a speed. As you can see my motor is running slower and I can hold the up arrow key as well and we can go all the way up to 60 Hertz. So let’s see it run full speed There we go!
So that’s all there is to this video.
As always if you have any questions or if you need an Eaton drive repair don’t hesitate to give us a call!
Swing by our website precision-elec.com
Your industrial automation Service Center. Drives, Motors, Controls, just give us a call and well get you taken care of. Have a good day!
