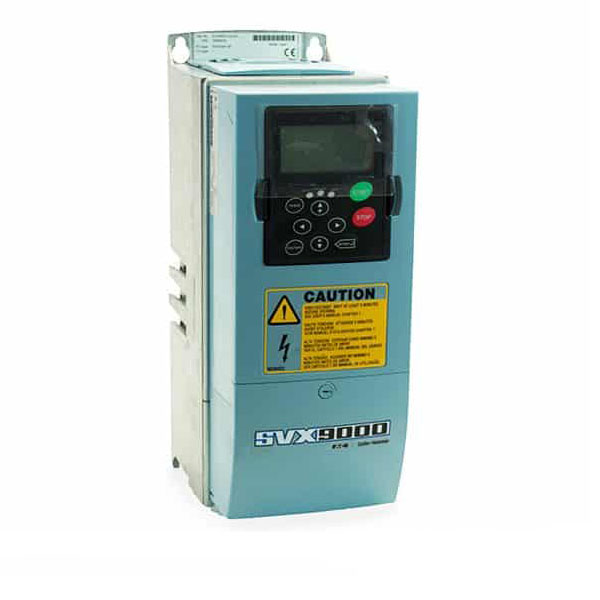
EATON SVX9000 Training Lesson 4: Basic Speed Potentiometer Wiring & Setup – VFD
About This Video
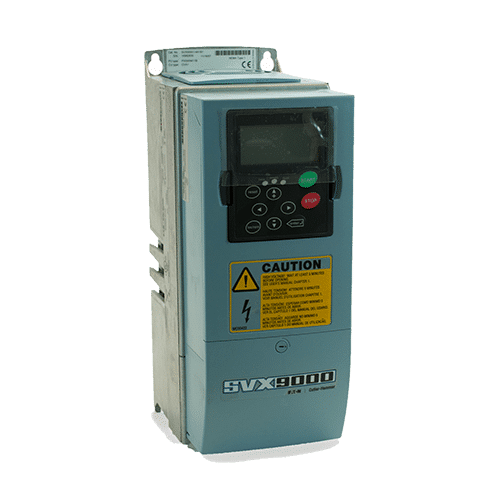
This video will cover the complete wiring and parameter programming setup of a speed potentiometer on the EATON SVX9000 variable frequency drive. This process is quite simple and it offers a great option for people who are interested in using a speed potentiometer for setting their speeds other than the standard keypad.
The EATON SVX9000 Variable Frequency Drive is an extremely user friendly AC Motor Drive. This is one of the reasons we enjoy selling it to our customers. This is mostly because we offer free technical support and training to all of our customers who purchase from us.
Video Transcript
Hello everyone, my name is Craig Chamberlain with precision electric at precision-elec.com. Your industrial automation service center. Drives, motors, controls, we’ve done it all for over 30 years. If you have any questions, make sure you give us a call.
Today’s video, we’re continuing the series on the SVX 9000 drive by Eaton. We’re gonna be covering how to wire a speed potentiometer to the input of the drive so that we can control the speed. For those of you who don’t know what a speed pot is, it’s one of these little knobs here. So, when we turn it up and down, the speed will change. So let’s go ahead and get it wired and get started. So the analog inputs are actually shown right in the wiring diagram for the basic application which we set up in our previous video and it’s under terminals 1 2 & 3 in our variable frequency drive.
Now terminal 1 is just a plus voltage so that’s going to go to our speed Potts + voltage reference. Number 2 is our analog input 1 plus that’s our actual analog input reference so that’s the one that’s changes from 0 to 10 volts. And number 3 is our analog input 1 – or our common or ground. So let’s go ahead and take a look at what it looks like actually on the drive. If you see here I’ve already pre wired this unit so that we can look at the wire colors and we can look at the terminal numbers as well. These three wires are pretty standard on almost every speed potentiometer you might have. So this is coming from my speed pot in two terminals 1 2 & 3 as we discussed. And one I used a red wire for my plus voltage – I used a white wire for my reference voltage. And 3 I used a black wire for my common. And you’ll have to look at your particular speed potentiometer to find out which is which; but when you purchase a speed potentiometer it actually tells you which one is your plus voltage which one is your reference and which one is your common. So as long as these three wires correlate with those 3 on your speed pot and you wire them this way then we are technically set up for our speed pot. And I can slide this right back in here, into the drive and at that point I have completely configured my speed pot. The great thing is, is we don’t actually need to do any program because in the previous video we already set this up for the basic application so when we’re remote control we’ll be able to control the speed right from the speed pot. Okay so now that our wiring is complete let’s go ahead and apply power to the drive. And what we’re gonna do next is; there’s two different control modes on a variable frequency drive. There’s a local control which lets you run from the keypad and then there’s a remote control which can let you run from the terminal strip and your speed pot. Now in the previous video we were controlling everything from the keypad but in this one since we want to use our speed pot we have to switch into remote control.
So we’re gonna press the local remote button and then we’re going to see the flashing remote light and we’re gonna press ENTER to confirm. Once the remote light is completely turned on now the drive is actually looking at the terminal strip for both its start command and its speed reference. Now for those of you been paying attention to the previous two videos this may throw kind of a curveball at you because we actually haven’t wired a start command to this drive yet on the terminal strip. We’re actually going to be doing that in the next video but I’ve pre wired it to this selector switch for demonstration purposes of this speed pot. So I’m gonna go ahead and turn on the drive and then at this point I can turn my speed pot – to get my speed to go up. If I press the right arrow key or the left arrow key, I can scroll through my monitoring variables see my temperature or my current, my output frequency which is my output speed and as I turn this speed pot I can actually see that go up and down. Now I’ve also pre-wired this for forward and reverse so I’m going to turn off my forward command and turn on my reverse command and the motor runs in the opposite direction of the speed of my speed pot. So the speed pot doesn’t care what direction I’m going in the speed pot just gives me a speed reference and when we set up the start/stop control it the next video we’re gonna actually talk about how do I start forward, how do I start Reverse, and there’s a lot of different ways to actually do that.
So that’s all there is to this video. If you have any questions, don’t hesitate to give us a call or swing by our website at precision-elec.com. Were your industrial automation service center: drives, motors, controls, we’ve done it all for over 30 years. We do many of these SVX 9000 drives including repair that we do. Right now, we have about 30 of them in our facility for repair and they can be anything from the smaller ones all the way up to the massive cabinet drives. So, if you need any help just let us know. Until next time we’ll see in the next video

