How To Reset A SMV Variable Frequency Drive (VFD) To Factory Defaults
About This Video
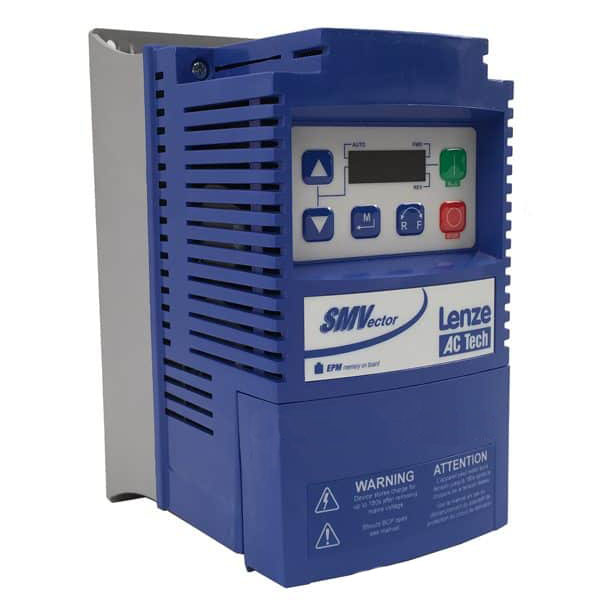
This video will cover how to reset your Lenze AC Tech Variable Frequency Drive (VFD) to factory defaults. Factory defaults will put the settings in the VFD that were originally loaded when it shipped to you. This is a great way to get a fresh start on your programming.
Video Transcript
Hello everyone,
Craig Chamberlain here with Precision Electric at precision-elec.com – your industrial service center. Weve been in business since 1983. We do all kinds of industrial service: anything from motor repair to electronics repair to system retrofits. You name it – we do it.
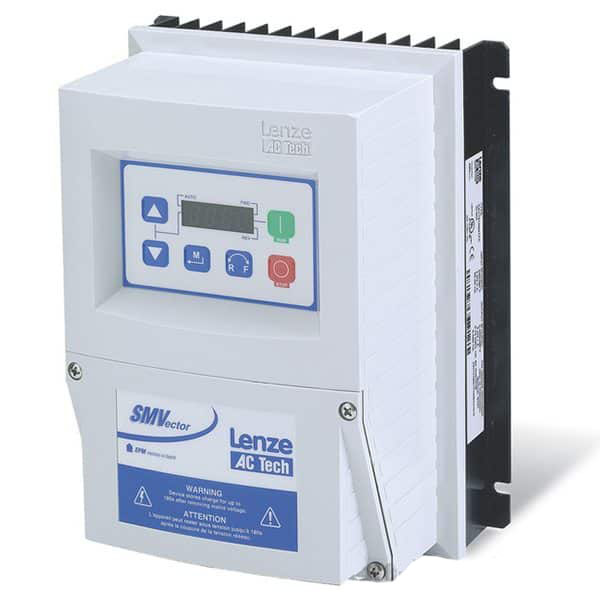
Today we’re talking about drives: variable frequency drives in particular. The SMV or SMVector Series drive which we sell online at our website. We sell a big number of these because we use them out in the field. We love them. They work really well. They’re made in America. They’re very just very well built and if you are interested in purchasing one feel free to check out the website. Also, if you have any questions after this video make sure you contact us because support is included with our pricing.
So let’s take a look today. We’re going to talk about the manual first because before you do anything on your drive typically you always want to consult your manual. It is your most valuable tool. We do have a copy the manual on our website. In this case we’re going to be talking about resetting your drive to factory defaults. Now factory defaults are basically like giving your drive a clean slate. No matter what drive you might be working with, default settings are default settings. In most cases the drive you’re working with will also have a way for you to reset it to factory defaults. It’s a good thing to know how to do in case you go in there and you’ve made some changes to parameters and you’re not entirely sure if you’ve broken something which happens all the time. It gives you that clean slate to kind of start fresh and move forward from that. Now that being said, if you’ve had a technician come in and customize your program, you don’t want to just go resetting your factory defaults.
Remember, once you do this it will wipe out whatever you have set up. So just use some precautions there to make sure that you’re not wiping out a program that you don’t have a backup of. If you are going to wipe out the program and you don’t have a backup of it and you need one, try to find a way to pull that program out of the drive or in some cases, so people will write down what each parameter is before they’ll do a reset. It depends on your situation.
Now let’s take a look at the manual here first. This is basically on the SMVector manual, which we have on our website of course. You’ll notice that I pulled up this parameter. It’s Parameter 199 and its called Program Selection. Now Program Selection lets you set these parameter numbers. You can put 0, 1, 2, 3, 4 or 5 into that parameter, and then you press ENTER. The corresponding operation happens. Typically 0 is the default because it’s operating from whatever your custom settings are. Then you got these two options related to OEM settings. Now OEM settings are settings that were sent if this was like a custom built machine manufactured from an OEM. They may have their own EPM module or a programming module plugged into it or they may have had OEM settings pre-programmed into the unit. Most people will never use this OEM, unless it is an OEM drive that you got specifically from an OEM. The third setting and the fourth setting are the ones that are most interesting. We’re set to 60 Hertz as default settings. 60 Hertz of course is the normal frequency that 120 volts in America runs on. So, 60 Hertz would be the American Standard. The 50 Hertz defaults would be the European Standard for the frequency of your drive. [Number] 5 [is] Translate. We’re not going to go into that; you’re probably never going to use that.
But let’s go ahead and pull up our drive here so I can show you guys exactly how to do this. It’s pretty easy to do. What you want to do is you want to start by pulling up your parameters and that’s pretty easy to do. So you notice if I press up and down, it just flashes Error. That’s because I’m basically trying to control the reference from the drive and I have not reset this drive yet. So if I press ENTER here it’ll flash really quick saying Password. Do you notice that? You probably didn’t even notice that – you might have to go back on the video to see it again. But it flashes really quick saying Password. The default password for all SMVector Drives is 0225. So we’re going to hold the Up arrow until we get to 0225. We’re going to press ENTER again and that’s going to bring us to Parameter 100. Now notice when I was on the manual I said I needed to go to parameter 100 99 so that’s what we’re gonna do we’re gonna go back here we’re gonna go up to parameter 199. Go all the way up [to] 99 [and] press ENTER. Then we’re going to set this to, as I discussed, we’re going to set that to 4. Nope, we’re going set it to 3, which is our 60 Hertz factory default setting. We’re going to press ENTER again. Notice it clicked and that’s because it set everything back to default.
That is really it. That’s all there is to it. The drive has officially been set back to factory defaults. You’re good to go now. This is how you do it on an SMVector Variable Frequency Drive. Now at this point when I do future videos I’ve got a clean slate. This is how the drive would arrive from the manufacturer. I can go in and actually write my custom programming the exact way I want it. [I can] kind of set up the parameters exactly how I want it for my application. You’re going see me get that little motor back here running over the next couple of weeks. There’s a lot of fun stuff you can do with these drives so I’m excited about getting into more detail on it.
So thank you guys for coming out. I hope this video helps you out. Of course, if you have any interest in SMV Drives, SMVector Series Drives, or variable frequency drives in general, make sure you check us out at Precision-Elec.com. That’s Precision-Elec.com. See it right there in the corner? Or you can contact us of course at 574-256-1000.
We hope to hear from you soon and we’ll see you in the next video!
