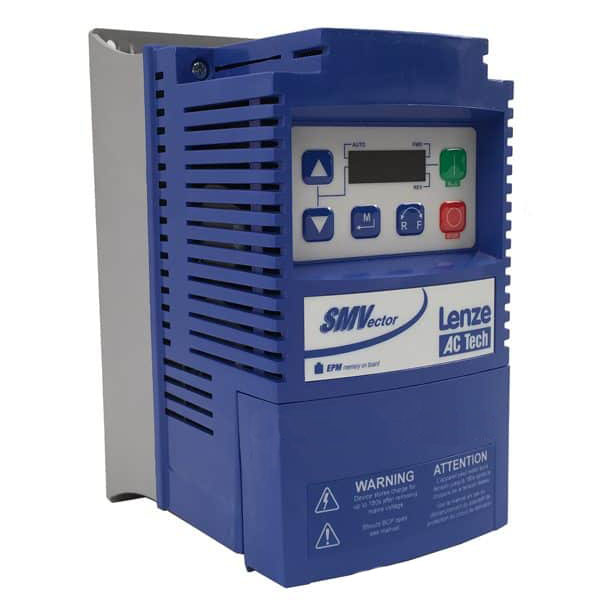
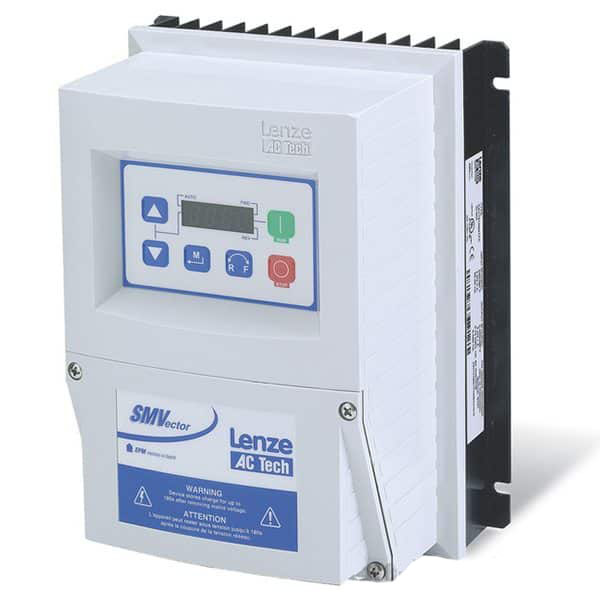
Lenze SMV Training Lesson 2: Basic Parameter Programming & Startup – Variable Frequency Drives
About This Video
This video covers the essential parameters that will need programming when commissioning and starting up the Lenze SMVector Variable Frequency Drive. These parameters will be set for most applications. The most important parameter that many people forget to place is the motor overcurrent parameter. This parameter protects your motor from pulling more current than it is rated for.
The Lenze SMV Variable Frequency Drive is an extremely user friendly AC Motor Drive. This is one of the reasons we enjoy selling it to our customers. This is mostly because we offer free technical support and training to all of our customers who purchase from us.
Video Transcript
Hello everyone,
Craig Chamberlin with Precision Electric again and today we’re going to continue our series on the SMVector Variable Frequency Drive.
Today we’re going to be doing programming basics. When you get your drive there’s really only a couple parameters you’re going to need to change in order to get your basic application set up. I recommend going through these basic parameters first, because once this is all set up, you can kind of go into your more advanced [processes] – how you want to start and stop it [and] how you may want to change your acceleration times or deceleration times on different circumstances. Essentially this will make that whole process smoother for you.
So what I’m going to do is I’m going to start in the manual and you can get a copy of the manual at our website: that’s precision-elec.com. Or if you bought one, it came with one in the box. We’re going to start with the first parameter. Now, when you first turn on your drive it’s going to say Stop on the screen, and if I press this M button on it it’s actually going to bring up the parameters. When I press it the first time it says P 100 and that is the first parameter. Now we’re not actually going to change this parameter in this video. This is your start control source, and this will let you change where you want to issue your start and stop commands for your motor. But we’re going to keep it on the keypad for now, that’s more of an advanced programming feature because it requires some wiring.
So let me go to Parameter 101. Again, this is another more advanced parameter that you’re going to be using to change where your speed source comes from. Let’s say for example you want to use a speed potentiometer which is a knob in order to control your speed, or perhaps you want to use an external reference such as an analog input from a PLC, or from another Drive even – this is where you would change that: at P101 now we’re going to leave it on the default which is the up and down arrow keys on the keypad. So we can actually change the speed right from the keypad. Again I consider that an advanced parameter because it may require some additional wiring, so we’re going to talk about that in a later video.
Now we’re going to get into the basic parameters. Parameter 102 and 103 will let you change your minimum and your maximum speeds. Essentially you can make it so your drive will never go slower than 10 Hertz and you can make it so it’ll never go faster than 40 Hertz. So if I press the M button on P102, by default my minimum speed is actually 0 Hertz. So its stopped. Now if I turn this up to 10 by holding down the up arrow key and I press the Enter key again, which is the one with the M on it, now my minimum speed is going to be 10. So when I start my drive, I can’t go slower than 10 Hertz. So if I press the down arrow key here, it won’t let me go any slower than that. That’s my minimum speed. Now I can do the same thing for Parameter 103, which I was saying is your maximum speed. By default its at 60 Hertz which is the maximum speed of your motor. Typically most motors are 60 Hertz. I can actually go down to 40 Hertz. So now I’ve actually set a speed range: 10 to 40. Right now it’s going 10. Let me hold my up arrow key and see if I can go above 40. As you see I can’t. So that essentially set my minimum and maximum speed range. So let me go ahead and go back down here that way the motor doesn’t make too much noise for us.
The next basic parameter would be parameters 104 and 105. Now these are really important for most people because out-of-the-box, Lenses set your acceleration and deceleration time at a really long time. So if you noticed in this motor it took a long time for it to transition between my 10 Hertz and 40 Hertz and that’s because the acceleration time is set at 20 seconds by default. So if I go to parameter 104 which is my acceleration, and I press the menu button again – see how it says 20? Let’s go down to 2 seconds, or 2 and a half. Press ENTER. And now let me change my speed and you’ll see how much quicker it does it. See were actually already at speed, so rather than the full 20 seconds which took a long time, it changes almost instantaneously. Now let me go down. Notice how it takes a long time to slow down. That’s because your deceleration speed is different than your acceleration speed. And that’s the next parameter – that’s parameter 105. If I go to that, this is my deceleration time. By default this is set to 20 seconds as well. So let me go ahead and bring that down to 3 seconds as well. Press ENTER. And if I go all the way up, as we can see, it speeds up fast. Now if I go all the way down, it slows down fast.
Okay, for the next parameter we’re going to look at forward and reverse rotation, which is extremely confusing on these drives for a lot of people because the button presses aren’t very intuitive. I actually get a lot of phone calls on this one. So essentially we got to go to Parameter 112 first. So I’m going to bring that up and I’m going to press ENTER on that. I’m going to set it to 1 which actually enables forward and reverse. Forward and reverse are not enabled by default. Now once it’s turned on this is the part that tends to confuse people. Essentially you got to press this forward reverse button and there’s going to be a little flashing LED on here to change direction. You have to confirm it by actually pressing Run. So if I press forward reverse there’s a flashing light, [press] ENTER.
Now we’re going to get to the last of what I would say are the basic parameters, and this is the one that actually requires you to do some math, but it’s also one of the most important parameters in the manual. Thats P108 – it’s called your motor overload. Essentially an overload tells the drive how much current or amps can go into your motor before you’re going to start causing damage to your motor. Now if you exceed your overload the drive will trip on what’s called a motor overload fault, or an overcurrent. This is extremely important to set on every application because it’s going to protect your motor from any possible damage. Let’s say for some reason your motor pump got jammed up and it started just pumping a bunch of current in it. Well, you dont want it to sit there and cook the motor. You want it to actually trip out and stop putting power to motor and let you know. And that’s what the purpose of this parameter is.
So this one actually requires a little bit of math. Essentially you’ve got to look at the nameplate on your motor, which mine doesn’t have a nameplate on it right now but I do happen to know for a fact that it’s 1.6 amps at 230 volts, which is what I’m putting into this. Then you look at the current rating on your drive, and this one’s 2.4 amps. So my motor will always, hopefully, have less current requirements than my drive can put out. Otherwise your drive is too small for your application because you don’t have enough current to run the motor. So I take the number from the nameplate on my motor which is 1.6 and I divide that by 2.4 which is the total for my drive. I did the math before this video, which is 0.66666 repeating indefinitely till 7 eventually shows up because I run out of space on my calculator. Then I multiply that by a hundred to get a percentage. So it’s 66.7% essentially. So that’s what I set my overloading in this for. So I’m going to press M on that again to bring up the menu. Im going to go to P108 and right now it’s set to a hundred percent. Since I can’t do decimals I’m just going to do 67%on this rather than 66.6. Ill press ENTER and that sets the overload. Now if for any reason this exceeds the amount of current the motor is rated for, it’s going to trip out and the drives going to give you an FCL fault or a current limit fault. So those are the most essential and the absolute basic parameters for the SMVector Variable Frequency Drive. Really, 99% of applications are going to need those parameters set in order to get you up and running.
In the next videos we’re going to actually go over different types of configurations you may use for P100 and P101. Because P100 would be your start source, which can vary depending on how you want to start your motor. And P101 is your speed source, depending on where you’re getting your speed from. It could be the keypad, it could be a speed pot which is real popular (a knob), it could be another drive, it could be a PLC, and it could be a lot of things. It could [also] be just a preset speed. So we’ll be going over those in future videos.
That’s really all there is to it. Thanks for stopping by and don’t forget to subscribe and visit our website precision-elec.com. If you have any questions feel free to call us. All of our prices include support.
