Lenze SMV Training Lesson 6: Advanced Drive Protective Fuse Sizing & Motor Overload Setup – VFDs
About This Video
This video will cover the complete instructions on the necessity of fuse or circuit breaker protection for your Lenze / AC Tech variable frequency drive. Protecting your Variable Frequency Drive (VFD) with fuses and breakers are an essential step in making sure you do not damage your drive. This video also covers how to setup your Motor Overload in the drive to properly protect the motor. Make sure to adhere to local laws and recommended wire sizing when performing this setup.
Video Transcript
Hello everyone,
This is Craig Chamberlain with Precision Electric at precision-elec.com. We’re your industrial automation service center so if you have any questions or concerns regarding any of your electrical equipment, it’s what we do. We’re a small business and we’ve been doing this for a very long time. So feel free to call and ask questions. We sell these drives as well as a bunch of other industrial equipment.
So in this video we’re going to actually cover advanced protection of your Variable Frequency Drive. A lot of people just run the drive right out of the box and not going through the steps to properly protect both the drive and the motor. That’s a big mistake because the nature of electricity is that they’re not designed out of the box to protect. Basically they’re not designed to protect from external factors that can only be done by the person doing the installation, which is you. What they do is they pre program them to protect the absolute limit to what they’re capable of. You’ll understand a little bit more of that here in a moment.
So let’s start with the drive. In order to protect the drive, any drive, we want to make sure we wire fuses to it. Now in my instance I’ve got a single-phase drive, so I’ve only got one hot wire coming in. In general when you’re fusing a drive you need to make sure you fuse every single hot wire. So if you have single-phase 230 volt and it’s got two hot wires, you have to fuse them both. If you have 120 volt like I do – I have a hot and a neutral, I only have to fuse the hot. If Ive got three-phase 230 volt, or three-phase 460 or three-phase 600 volt, then I have to fuse all three. Because all three of them are hot. So essentially anytime there’s a hot wire, you have to fuse it. Its the absolute minimum requirement.
You’d be amazed at how many people call and their drive blew up and we find out they didn’t even have a fuse or a breaker on the line side. Now the good news is this drive actually has, in the manual, proper sizing procedures for those wires. The wires are running through the fuse and the fuse size itself. That’s actually in section 3.2.2. I know the manuals our favorite thing. We go into it every time somebody calls. But always open that up. There’s this nice chart here. Okay and on the left-hand side of the chart there’s a label on your drive. It’s got a part number. You’re going to look up your part number and you’re going to follow the chart across and it’s going to recommend a fuse size and it’s also going to recommend a breaker size, which we don’t recommend using breakers unless it’s all you got. Theres a recommended wire size for your wiring – so what gauge of wire to use in thickness to make sure that you don’t overheat the wire and maybe burn them up or cause a short.
In my case I needed a 15 amp fuse, and I only needed one fuse because I have one hot wire. if you want to reference your particular diagram for how to wire your input voltage, there is actually another section for that in the manual called Mains Connections To 240 volt Single-Phase Supply, Mains Connection To Three-Phase Supply, and Motor Connections. They’ll actually walk you through it. That’s section 3.2.1.2. There’s also actually a Mains Connection for 120 volt single phase. That’s actually the drive print I’m using for this particular sample. So you just want to use whichever diagram matches your corresponding Drive. So let me get back to that chart.
It says I need a 15 amp fuse. So I installed this fuse block here. I installed this fuse. Now this is what’s called a Current Limiting Fuse or a Fast Blow Fuse which is what we prefer. They’re a little more expensive but we like to call them cheap insurance. Essentially what that means is if it exceeds that amount of current that you’ve sized it for, for even a small amount of time, they [will] blow really quick. The reason you want that is because if the current is exceeding what the drive is rated for and it doesn’t trip fast enough or blow fast enough, your drives going to blow up and then your thing’s going to trip. You don’t want to go in that order. You want the fuse to blow before the drive blows up because you don’t want the drive to blow up right?
So in my case I installed the 15 amp fuse. I have my hot wire coming into the fuse block. On the other side I have it wired directly to the drive. So make sure that the other side of the block is wired directly to the input of your drive. And now properly protect the input power on your drive. That’s really all there is to it – just make sure you fuse it. You sized the fuses properly, you buy the right fuses – current-limiting fuses, and you wire all the hot wires to those pieces. That’s really it. Your drive is protected now. I’m not saying that in a hundred percent of instances you will always be protected but you’ve maximized your potential for protection. If it blows up after that then you just got really bad luck. I mean, it can happen. You can get a power surge that blows the drive up before the fuse blows, but it has to happen really quick at that point. So the second part is actually protecting your motor. Now a real common issue that people run into with people calling with these drives is they wire something between the output of the drive and the motor itself.
There can’t be anything wired between the output of the drive terminals U, V and W, and the motor itself. You can’t wire it through a starter [and] you can’t wire it through a contact block. You can wire it through some terminal blocks. That’s fine because you’re maintaining a constant connection, but nothing that can open. In other words, nothing that can disconnect the output power from the drive to the motor. That is a guaranteed way to blow up your drive – probably not your motor – but it’s a guaranteed way to blow up your drive. Because if for any reason that opens up, the power that’s flowing through the drive to the motor has to go somewhere. It gets pushed back up into the drive. That’s how people commonly blow up the output section of their Drive when they call. So know that you have to have a single connection from the output of the drive to the motor.
The third thing you need to make sure you do is to set the overload of the motor. Out of the box your drive is rated for a certain amount of amps – motor amps. When it shifts, it is at a hundred percent of that rated current. In other words if this drives rated for 5 amps it’s not going to trip on an overload unless it exceeds at 5 amps. Well if your motor is only rated for 3 amps and your drives pumping out 5 amps what’s going to happen? You’re going to burn up your motor right? So you actually need to scale the current of your drive to the current rating of your motor. This is extremely important because you want your drive to trip. If for any reason you’re overloading this motor, you want to drive the trip out and protect it. You want to make sure. Let’s go ahead and program that.
There’s a little bit of math involved but it’s really easy to do. Let me go ahead and show you how to program it. As I said before there’s going to be a little bit of math on this one. First we’re going to go to Parameter 108. Parameter 108 is your overload. As you can see, out of the box it’s set to a hundred percent which means the drive will output 100 percent of its rated current to the motor before it decides to start tripping. Well my particular drive is rated for 2.4 amps, so I’m going to write down 2.4 and then I’m going to go over my motor. On my motor there’s a nameplate and on that nameplate it says what the full load amps are. In my case it’s 1.7. So I’m going to write down 1.7. Then we can plug those numbers into our formula on Parameter 108. It is right in the manual. That’s our motor current, which is 1.7 in my case, divided by my drive current which is 2.4. In that case it comes out to be 0.67. Then we multiply it by a hundred to turn it into a percentage which means 67% .So essentially my drive only needs to output 67 percent of its current to reach the maximum current of my motor. I need to tell the drive that. If I press enter again and I go to Parameter 108, I’m going to lower that 100 percent to 67 percent. You get down there and press ENTER again.
Now I’ve officially set my overload in the drive for 1.7 amps. So if any time my motor exceeds at 1.7 amps it’s going to flash CL on the screen, which means you’ve reached your current limit. After about 15 seconds of running in CL it’s going to trip in order to protect the motor. That’ll set the overload for the drive. That’s pretty much all there is to it.
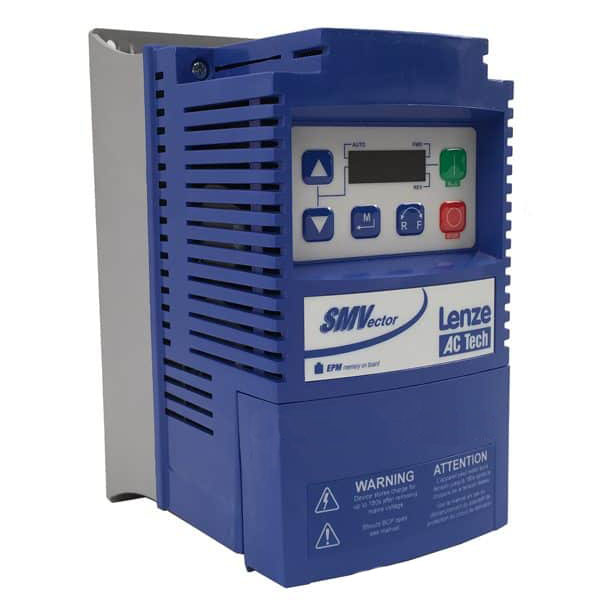
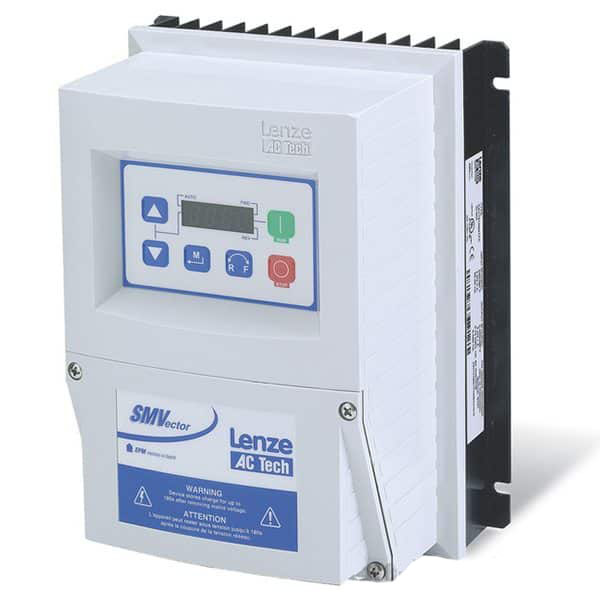
The SMVector Drive at this point is wired and protected with the fusing on the input. We’ve made sure that there’s nothing between the output and the motor itself. It’s a direct connection, and we’ve also set the overload in the drive. That covers pretty much all of your bases on proper motor and drive protection. There are other considerations you can take in to effect, but that involves other equipment on your line. For example we sell line reactors. A line reactor would protect your other equipment on the line from the harmonics coming off your drive. We can help you size those if you call. Another one you could actually get is a load reactor, and that’s when you’re running really long cable runs on your output wiring.
So if you have any other questions just give us a call. Again our website is Precision-Elec.com. We do this all day, every day. We have been doing this for over 30 years now, and we are your automation service center. Drives, motors, [and] controls – we pretty much do it all.
Don’t forget to Like, Share, and Subscribe to the video and we’ll see you in the next one!
