Lenze SMV Training Lesson 9: Motor Vector Speed Control Tuning – Variable Frequency Drives
About This Video
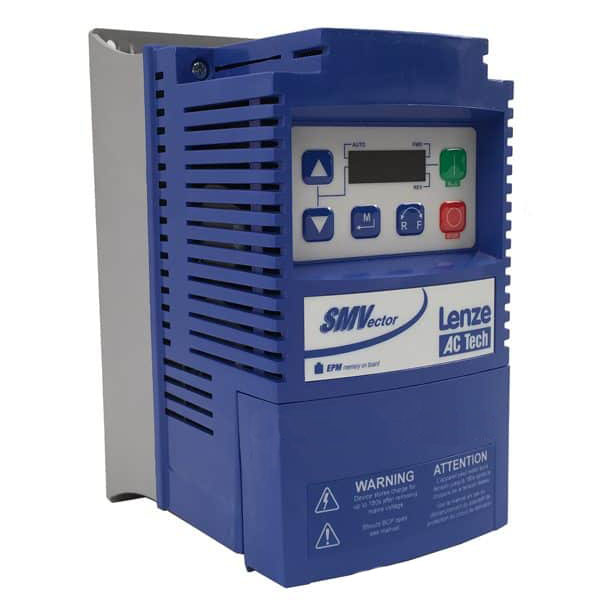
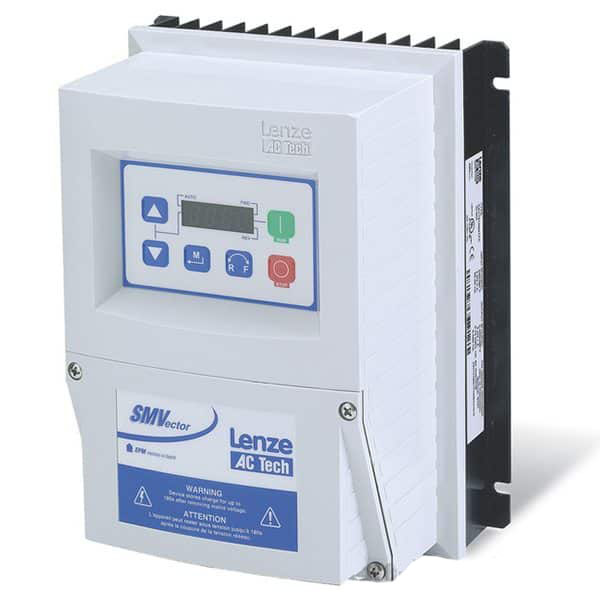
This video will walk you through tuning the Lenze AC Tech SMVector Variable Frequency Drive (VFD) to your AC Motor. The tuning process is extremely simple and will make sure you are getting the best possible performance out of your AC Motor. Tuning is absolutely necessary when attempting to run any application that requires high torque at lower speeds.
Video Transcript
Hello everyone, this is Craig Chamberlin with Precision Electric, at Precision-Elec.com, your industrial service center. We do drives, we do automation, we do controls, we do motors, we do a lot! So if you have any questions or need anything related to your industrial needs, give us a call.
In today’s video, we’re going to be doing another video on the SMVector Variable Frequency Drive. Now we have full series of training videos now available on our YouTube channel if you haven’t checked them out yet. But this particular video is going to be covering tuning. Tuning is something that comes standard in a lot of drives now. There are a lot of misconceptions as to why you may or may not tune your motor. In general, it’s always a good practice to tune your drive to your motor, but it’s not necessary.
Depending on the application is usually what determines whether or not you tune the drive to the motor. If you’re unsure, typically you just run it the way its set up out of the box, which is in standard speed control. If you’re just not getting the performance that you’re hoping for, then you might want to look into turning
What tuning does is essentially the drive goes out and determines the characteristics of your motor, depending on the motor data you put in. it actually tunes itself so it can better perform. It uses what’s called “current feedback,” in other words, current backed from the motor, in order to better regulate the speed and control of the motor. Now this is really popular for people who need to run high torque, low-speed applications. In other words, you need to be able to move a lot of weight or work (depending on whether its water, so you need to move a lot of water if it’s a pump, for example) but at a lower speed than say 10% of the rated motor. So if you want to run 10% of your rated motor speed, which might be a 1750 RPM motor, so you might want to run like a 170 RPM, and still have good speed control. In other words, you want it to be consistent in how fast it runs, then you want to look into tuning.
Anywhere that’s 10% or lower is where we say is a good threshold. So let’s start in the manual. It’s under Parameter section 300. We’re going to change quite a few parameters here. And most of them you’ll get right off the nameplate of your motor. I’ve already got that data, so let’s go ahead and go in there and program it on mine, run the tuning process, and you’ll see it run with tuning. So I’m starting in the manual in the section 4.5.5, Parameter 300 (drive mode). Default is set up for Volts per Hertz. Let me go up to Parameter 300 on my drive. Here we go.
As I said before, Volts per Hertz pretty much runs out of the box as default. For most applications, that’s good enough. I’m going to set this to Vector Speed Control. Now Vector Speed Control basically tells the drive I want to tune my drive to my motor, and do the same as Volts per Hertz. So I’m going to be running my speed changes through either my keypad or my speed pot, but it says I want to maintain a constant speed. So that’s why it’s called Vector Speed Control.
The other option, which is Vector Torque Control, is if you want to maintain a constant current. That is real popular on wire drawers, so if you want to maintain a constant tension in the wire as you pull it through dyes or whatever your application may be, then you’ll actually put it in Vector Torque Control. But we want to maintain a constant speed in our setup. So if you follow in the manuals, as I said before, this Note section actually goes through all the steps we’re going to go through, but I’m going to go through each one of these Parameters one at a time.
So I’m going to go up to 302, skip to over 301, and this is where I put in the voltage of my motor, and that is on the nameplate of your motor. And mine is 230 volts, so I’m going to leave it the same. I’m going to press Enter. I’m going to bring my menu back up, go to Parameter 303. This is the rated current of your drive. My drive is actually rated for 1.7 amps, so I’m going to bring that down. By default it’s actually set to the current limit of the drive, which is the maximum current the drive will take. So I want to set that to 1.7 amps, which is the rated current on the nameplate of my motor. Let me go to parameter 304. This is the rated frequency.
If you’re in the US, nine times out of ten, actually 99 times out of 100, it’s going to be 60 Hertz. If you’re using a European drive or European motor for any particular reason, it’ll probably be 50 Hertz. You could also have a Spindle drive that has a different rated frequency, let’s say up to 500 Hertz for example. This drive does support up to 500 Hertz.
Let’s go to Parameter 305. This is the rated speed in RPM in our motor, also on your nameplate. Pretty much everything we’ve covered so far is on the nameplate. Mine is 1750 RPM, yours could be anywhere from 400 all the way up to 4,000. Using a Spindle it could even go up to 10 or 20 thousand depending on what you’re using. Let’s go up to Parameter 306, this one’s a little trickier. This is actually your motor efficiency rating. For most people 0.8 is more than adequate. You will have this on some of your motor nameplates, not on all of them. If you don’t have them, essentially they call them the efficiency rating. Mine happens to be 0.9, so I’m going to put 0.9 in there. That is on the nameplate. If you don’t have one you can either use the formula that’s in the manual to calculate it, which is the Node section for Parameter 306. Or, you can just put in 0.8 because that works for most applications, that’s why it’s the default.
That is actually all you need for motor parameters in order to tune it. The remaining data like standard resistance, etc is not important. In fact you probably don’t want to put it in there unless you absolutely know for sure what they are because they can mess up the tuning. So the final step in this process is actually to go to Parameter 399 to actually run the tuning. So I went to 399, I’m going to press Enter, and I’m going to set this to Standard Calibration enabled. So I’m going to press Enter on that and its going to say “Cal Stop,” and that’s normal. It says right on the notes section – “Display will indicate ‘Cal’ for about 40 seconds.” Once calibration is complete the display will indicate stop. Apply another Start command to actually start them.
So I’m going to press Start, (I pressed Enter to Start it and I press Run) and now it’s flashing “Cal.” You can actually kind of hear it, I don’t know if you can hear it in the video, you hear kind of a winding sound, and what that is, is the drive calibrating itself to that particular motor’s characteristics. Basically it’s injecting some current into the winding so that it can measure the resistance and inductance. Also so that it can actually get back information that it needs to properly control that motor at those ratings.
So now it’s completed. It says “Stop,” which is what we wanted. At this point I can actually run the motor. But now it’s tuned. So if I had a high torque application and I wanted to run a low speed, I could reliably run even down to 10%, maybe even 5% of the rated motor speed with some consistency. At least [I could run it] with a lot better control. So that speed would be pretty close to what we’re targeting. Again, you can’t get prefect speed control without some kind of a feedbcak like an encoder or a resolver. But this is probably one of the best ways you can get good speed control at a lower speed that’s cost effective other than maybe moving to an ABB product which gets kind of pricey, even though you don’t need an encoder, because they only include that feature on their ACS 800s and up.
So that’s all there is to tuning your drive to your motor. And as I said before, vector control is very popular for people who are trying to run low speed, high torque, and high control applications. It’s not necessarily appropriate for every application. If you can do it, that’s great. If you can’t, it’s not a big deal. You will probably save a little bit of money on energy efficiency, but it’s not going to be a noticeable difference. Your big savings on energy is going to be related to being able to reduce the speed of whatever it is you’re running, which will reduce your total current overall.
But that’s pretty much all there is to this video. If you have any other questions, again our website is Precison-Elec.com. That’s Precision Electric. We are your industrial service center. We do drives, we do motors, we do automation panels, and you name it. If you have any questions please feel free to call us and we will help you in any way we can.
Otherwise, Like, Share, and Subscribe to this video, and we’ll see you in the next one!

