Lenze SMV Training Lesson 8: Advanced Speed Control Options – Variable Frequency Drives
About This Video
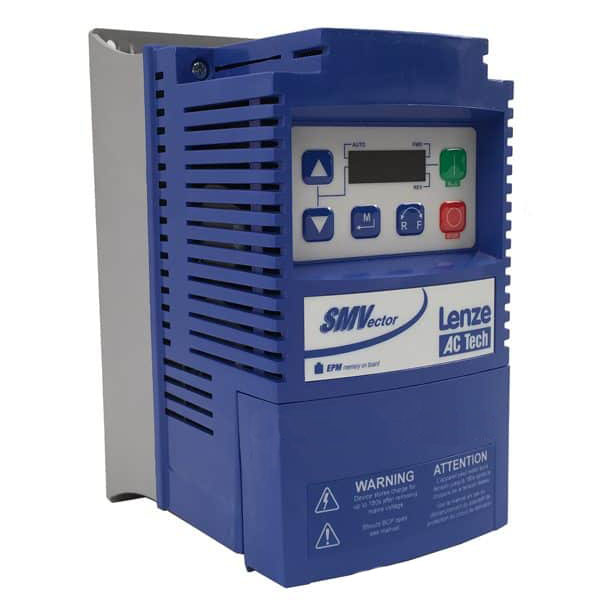
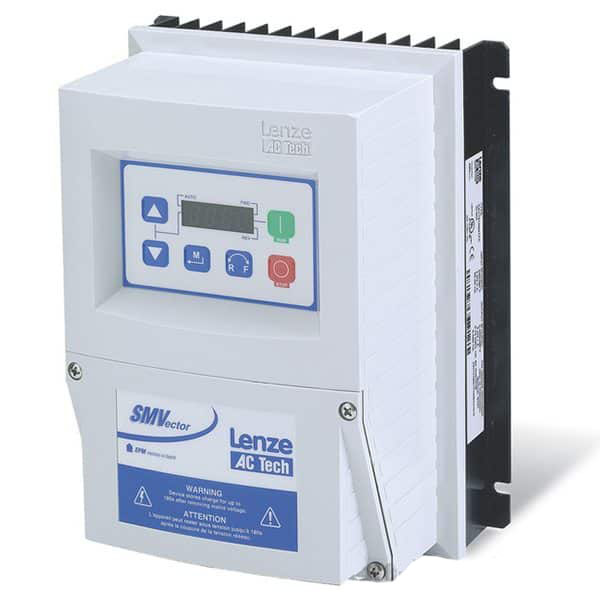
This video will cover the advanced speed control options built into the Lenze AC Tech SMVector Variable Frequency Drive (VFD). Advanced speed control options may include the use of multiple inputs for preset speeds, a network speed control reference or perhaps dropping out a primary reference for a secondary backup speed reference. No matter your speed preference, there’s a good chance the SMV VFD can do it!
Video Transcript
Hello everyone, this is Craig Chamberlin with Precision Electric.
We are your industrial service center, [taking care of] anything from drives to motors, to automation. We can pretty much take care of you, so just give us a call anytime.
Today’s video is another episode of our training on the SMVector Variable Frequency Drive. We will be covering the advanced speed control methods. In our previousvideoswe’ve done basic speed control. In other words, we can start and stop our drive from here, but we can also control the speed from the keypad. Another basic speed control method would be the speed potentiometer. We’ve got a different video dedicated just to that.
The advanced speed control includes what I would say is the preset speeds or external references that may come from another device you have on your system – whether that’s a network or just an analog signal.
Let’s go ahead and get started. As always, we start in the manual. I reference this in every video. The only thing we ask if you call for support (because all of our products include support) is that you at least familiarize yourself and have attempted to do some of the configurations yourself with the manual. The parameter we’re going to be looking at for this is Parameter 101, which is your standard reference source. The reason they call it your standard reference source is because it’s going to be the speed that it looks at when you’re not using any pre-programmed speeds. You’re going to see an example of that later in this video.
Essentially my standard reference source is what the drive will look at when it’s not being told to look somewhere else. So, it’slikethe default. It’s the fallback speed. If you’re not doing some fancy selector speed, a preset speed, or a network speed, and all those speed choices are shut off, it’s going to fall back to this standard speed. For our video, we’re going to keep it at the keypad. That’s our fallback speed. You’re telling thedrive, “Look at the keypad for your speed if I’m not using an external speed.” You can actually also set that for 0 to 10 volts DC, which could be a speed pot. That can also be an external reference from a sensor (maybe you have a flow sensor or a flow switch. Or, maybe it’s a PLC output: 0 to 10 volts).Samething appliesforOption Number 2, which is 4 to 20 milli-amps. You may have a milli-amp signal which is a current based signal instead of a voltage based signal. In general, those are the two primary signal types. It’s either a small DC signal, which could be negative 10 to positive 10 DC (or 0 to 10 DC), or it’s a small current signal. Those are the normal industry-standard, if you will, for speed references.
The other option is you can have a fallback be your preset speeds. So you can have a preset speed that it always falls back to. It gives you three different options for that. The final option would benetwork. Now that is a very advanced topic as far as networking is concerned. If you’re trying to get a drive on the network, each network has its specific configuration. If you’ve done industrial controls with networking you understand that. Whether you’re usingPROFIBUS,or DeviceNet, or Ethernet, each one has a very specific way in which it needs to be configured for it to run. But you can set this up fornetworkfor your speed reference. So you can send a speed command over whatever your network of choice is.
Now by default, the SMVector doesn’t come with a communications model, but it does support about 6 industry standard communications, such as DeviceNet, Ethernet IP, and the like. So that’s Parameter 101, that’s our fallback speed. So the next part I’m going to get into is just the preset speeds. What I’m going to do is set up this drive to not just run off of that fallback speed, but I’m going to set it to run off of a selected speed first. Then, we’re always going to fall back to our keypad speed.
Now let me turn my speed up to 10 justforstarting out. I’m going to issue a Start command. This is my basic speed. This is going to be my fallback speed which is 10 Hertz. Now, let me show you how I wired my digital inputs here because I’m going to program Terminals 13A and 13B for different preset speeds. My Common, as discussed in previous videos, is Terminal 4. We need to switch Terminal 4 to 13A for one of our programmable speed inputs and we’re going to program it here in a little bit. Then, we’re going to switch Terminal 4 to Terminal 13B for our second speed select. I’m going to set these up justforpreset speeds but you can technically set it up for any of the programmable speeds in the manual for Parameters 121 and 122. If you want to see an example of this print and how I have it wired – right now I’ve actually got 4 wired to a Selector Switch. On the other side of that SelectorSwitchit actually comes into 13A. That’s going to be my first preset speed. Then I’ve got 4 wired to a different Selector Switch on the normally open contact. The other side of that second Selector Switch is going to go to 13B. That way I can turn on and off those preset speeds anytime I want.
You can see a sample of that kind of diagram in Section 3.2.3 of the manual. It does show it in dotted form, but you can see it right on there that I’m just basically taking 4 to 13A and 4 to 13B. Now to program those preset speeds I’m going to press my Menu button and I’m going to go up to Parameter 121. This is my 13A setup. I’m going to set it for 3, which is basically preset speed. What that tells the drive is if this 13A is on, then look at ourpresetspeed No. 1. I’m gonna press ENTER and select 3. Next, I’m going to go up to Parameter 122 and I’m going to also put that at 3. The reason we’re setting both of these to the same isbecause I’mprogramming 13A and 13B both for preset speeds. There is a chartonthe manual that shows different ways you can configure these inputs for different preset speeds since they all have different states. In other words, if A is on and B is not, then that’s one state. If B is onandA is not, that’s another state. If both A and B are on, that’sa thirdstate. So that’s technically three different preset speed options we have. If you want to see that chart that’s actually in the description or the Notes section of Parameter 131.
So if I look at my Manual on 131 (hopefully you guys can see this pretty well), I’m going to program preset speed No. 1 for 13A. I need to go to Parameter 131 and set my preset speed 1 to whatever speed I want to run when 13A is on. Let me go ahead and go to 131, and I want it to go 20 Hertz. So when 13A is on it’s going to go 20 Hertz. Next, I’m going to go to 132 and I’m going to set that to 40 Hertz. 132 is for 13B. So when 13B is on by itself, I’m going to go 40 Hertz. The third option I’m going to do on this chart is actually preset speed number 4 – that’s if both A and B are on at the same time. So if I have both Selector Switches is turned on, then I can actually have a third speed just using two different inputs. So I’m going to go to 134 and I’m actually going to set that to 60. So if both 13A and 13B are on, we’re going to go 60 Hertz.
In the manual, you’re not limited to just these preset speeds, as I said before. No matter what happens, if I turn off all of these options on these programmable inputs (if 13A, 13 B, and 13C are off), remember it’s always going to fall back to that default speed we talked about at the beginning of the video, which is the keypad in my case. I can program 13A for a network speed. I can program 13Bfora preset speed. I could program 13C for the speed pot. I could program that for 0 to 10 volts. Essentially, you can program these for any preset speed you want or any kind of speed setup you want. As long as you close 4 to that input, then it will actually select that speed. Once you shut off all those, it’ll fall back to that default.
Let me show you an example of our preset speeds in action. The way I set this up`was I set up my first Selector Switch here for preset speed 1. I set up my second Selector Switch for preset speed 2. I set up if both of them are turned on for my preset speed 3. So, this Selector Switch is wired to 13A. This one is to 13B. Both 13A and B are on just like we had discussed in the video. So if I turn Selector Switch 1 on, my 4 to 13A is closed and my preset speed for 13A, which I set to 20, turns on (as you may have seen or heard it did speed up to 20 Hertz). You can actually see it right on the screen too. It’s actually reflecting my preset speed.
If I turn that back off it falls back to that default setting we set at the beginning. So I can actually default back to my keypad speed which I can turn up and down. If I turn on 13B it kicks on to 40 Hertz, which was my second preset speed that I programmed. Again, if I turn that off it falls back to my default speed, which was Parameter 101. I also set up a third preset speed if both of these are on, which was 60 Hertz. Now 13A and 13B are both closed. It goes to my 60 Hertz preset. At any point in time I can turn off an input and it’ll correspondingly go to whatever that preset speed was at the time. Or, I could turn them all off and go to the keypad.
One important thing for me to note here is if I have it preset speed control and I attempt to adjust the speed it’s going to show “Error” on the screen. That’s because right now it’s looking at the preset speeds and it’s telling you no, you can’t adjust the preset speeds with the keypad. [It’s] because we are in preset speed control right now. The only way I can get back to keypad control, in my case, is to go back to the fallback. Then I can actually turn it up and down with the keypad.
So that’s pretty much all there is to this video. As always, remember you can program these inputs. You could have a 3-way Selector Switch. That way you don’t need two different Selector Switches. As long as you have it set up so that your 13A, B, and C correspond with whatever your speed setup is it will work fine. You don’t have to use preset speeds. You could have this switch turn on [to] look at my network for the speed. You could have this switch turn on [to] look at my speed pot for my speed. You don’t have to use the preset speeds. That’s just the easiest for the demonstration.
So that’s all there is to this video. If you have any other questions, as always, swing by our website: Precision-Elec.com. We are your industrial service center. We do everything: drives, motors, automation, panels, you name it. If you have any questions please let me know.
Thanks!
