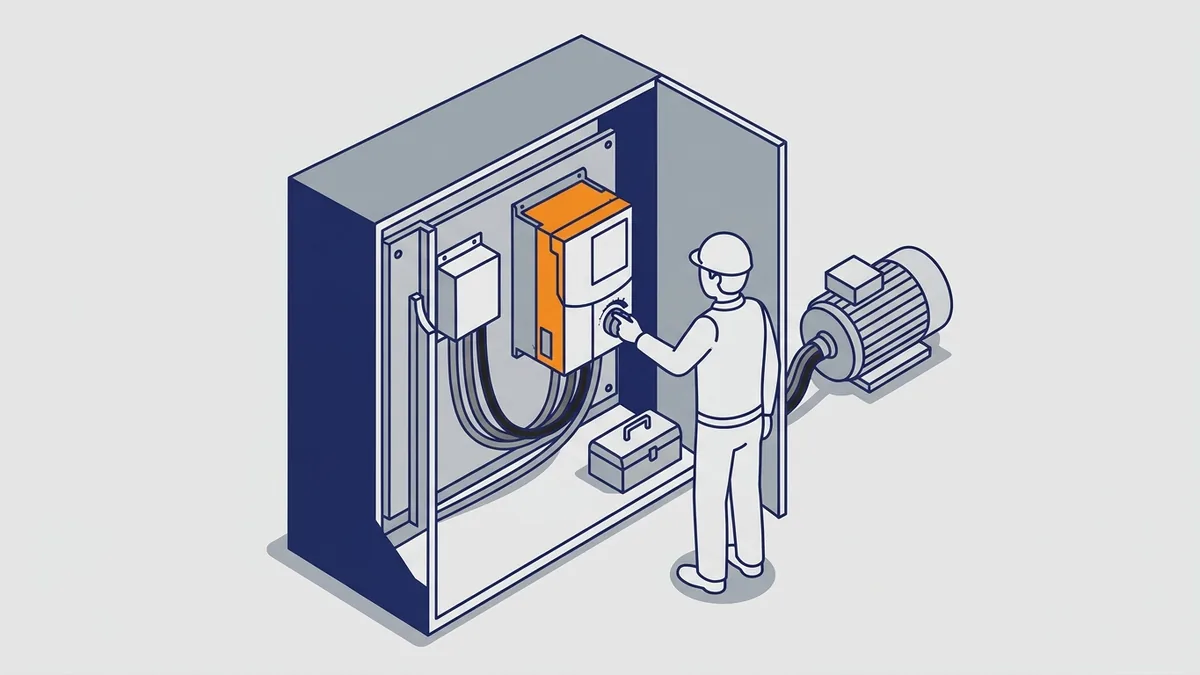









Small Motors Repair: Diagnose, Fix and Test Fractional-HP Motors
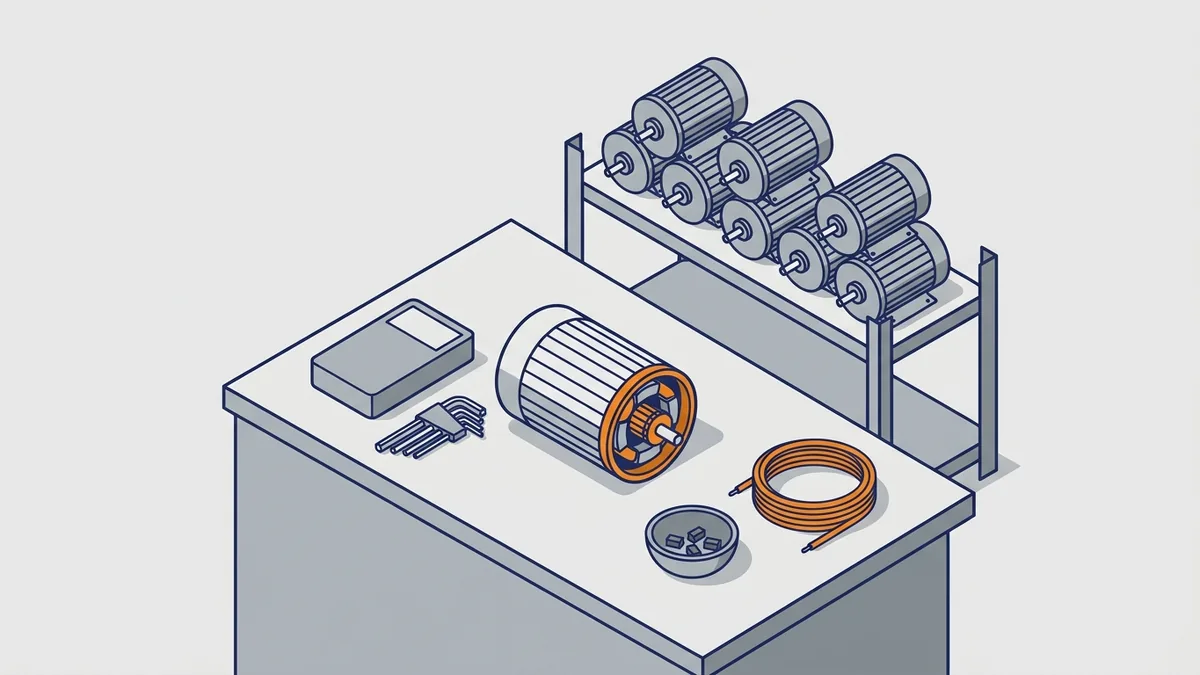
When a fractional-horsepower motor quits on a fan, pump or conveyor, quick and correct small motors repair gets you running again. This guide shows you how to diagnose single-phase, three-phase and brushed DC motors and how to decide whether to repair or replace them. You will also learn what a standards-based repair includes, how to vet a shop and which tests to request.
On this page
- What counts as a small motor, and what small motors repair covers
- Types of small motor and what usually fails in each
- Safety and checks before you open the motor
- How to diagnose a failed small motor
- Single-phase motor hums but will not start
- How do I test a motor start capacitor and centrifugal switch?
- What capacitance tolerance is acceptable?
- Why do capacitors keep failing on my motor?
- Noise, heat and bearing problems
- How do I choose replacement bearings and seals?
- How do thermal protectors and overloads behave?
- Brush and commutator problems in small DC motors
- What causes sparking, threading, grooving and flashover on a DC motor commutator?
- Testing the windings: resistance and insulation tests
- What winding resistance should a single-phase or three-phase motor show?
- What insulation resistance is acceptable for a small motor?
- Why the IEEE 43 edition matters
- Repair or replace a small motor?
- What a proper small motors repair involves
- Small DC motor repair, step by step
- Small electric motor repair: do it yourself or send it out?
- How to choose a small electric motor repair shop
- What small motors repair costs and how long it takes
- Testing and returning a repaired motor to service
- Common mistakes in small motors repair
- Preventing repeat failures after a small motor rebuild
- Frequently asked questions
What counts as a small motor, and what small motors repair covers
What is a small motor, and how is it defined?
NEMA MG 1, the main U.S. standard for motors and generators, gives the formal answer. Under it, a small (fractional) machine meets any one of three tests:
- It is built in a two-digit frame number series, or the equivalent for a motor without feet.
- The motor sits in a frame smaller than the medium-motor frame with a continuous rating of 1 hp at 1700-1800 rpm.
- Its rating is less than 1/3 hp and less than 800 rpm.
In everyday use, most people simply mean a motor rated under 1 hp. That plain meaning works well for small motors repair decisions on the plant floor. Also, NEMA MG 1 Part 12 covers both small (fractional) and medium (integral) machines. For DC motors, it covers frames with continuous dripproof ratings up to and including 1.25 hp per rpm.
How the federal “small electric motor” term differs
The DOE energy rules use a narrower term. In the federal statute, a “small electric motor” is a NEMA general-purpose AC single-speed induction motor built in a two-digit frame series. So a motor can be small in the shop sense without falling under those efficiency rules. You can check both definitions in NEMA MG 1 Part 1 and the DOE scope of coverage for small electric motors.
Servo and stepper motors are small too, but they need specialist tools and test gear. Our servo motor repair posts cover them in detail. This guide sticks to general-purpose AC and brushed DC motors.
What small electric motor repair covers in this guide
Here, small motors repair means three kinds of work. Most jobs mix at least two of them:
- Mechanical work: bearings, shafts, seals, end bells (the end covers that hold the bearings) and the fits between parts.
- Electrical work: rewinds, capacitors, centrifugal switches, brushes and commutators.
- Testing: winding resistance, insulation resistance, high-potential tests and a final run test.
Types of small motor and what usually fails in each
Each small motor type has its own weak spots. Knowing them speeds up small motors repair, because you check the likely part first. The table below gives a quick overview.
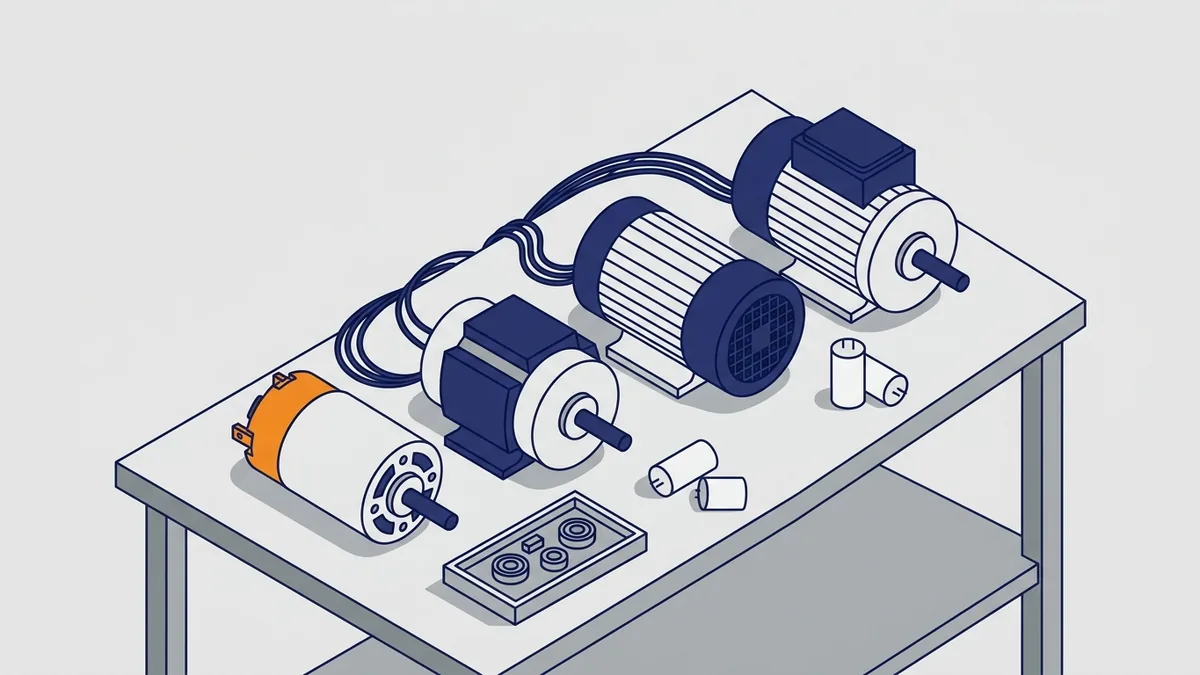
| Motor type | How it starts or runs | What usually fails | First thing to check |
|---|---|---|---|
| Split-phase (single-phase) | Start winding plus a centrifugal switch | Centrifugal switch, start winding, bearings | Switch contacts and free shaft rotation |
| Capacitor-start (single-phase) | Start winding, start capacitor and centrifugal switch | Start capacitor, centrifugal switch, start winding, bearings | Capacitor reading against its label |
| Three-phase fractional | Three supply phases; no start parts | Bearings, windings after phase loss or overload | Voltage on all three phases |
| Brushed DC | Brushes ride on a commutator (a ring of copper segments) | Brushes, commutator surface, armature | Brush length and commutator color |
What are the most common failures in small AC and DC motors?
In single-phase motors, the start circuit causes the most trouble. That circuit includes the start capacitor, the centrifugal switch and the start winding. Next come worn or dry bearings, which can also cause start problems. In three-phase fractional motors, bearings and overheated windings top the list.
Brushed DC motors fail mostly at the brushes and commutator. Brushes wear by design, and the commutator surface shows how well they ride. For deeper coverage by motor type, see our AC Motor Repair and DC Electric Motor Repair guides.
What about shaded-pole, PSC and universal motors?
Three more small motor types turn up often on fans, blowers, tools and appliances. Each fails in its own way:
- Shaded-pole motors: These are simple single-phase motors with no start capacitor and no centrifugal switch. They have low starting torque and are common on small fans. Bearings and burned windings are the usual faults. Check the bearings and turn the shaft by hand first. A burned winding usually means replacing the motor, because the repair rarely pays off.
- Permanent-split capacitor (PSC) motors: A run capacitor stays in the circuit all the time, and there is no centrifugal switch. A weak or failed run capacitor causes a hum, slow starts, low speed or a hot motor. Test the capacitor first, then check the bearings.
- Universal motors: These run on AC or DC and use brushes and a commutator. Worn brushes cause most faults, with sparking, power loss or a motor that will not run. Use the brush and commutator checks in the DC sections below.
Safety and checks before you open the motor
What safety precautions come before opening a small motor?
Safety comes first in every small motors repair job. Before you touch the motor, follow these steps:
- Lock out and tag out all energy sources. Then verify zero voltage with a meter you have just checked on a known live source.
- Discharge every capacitor before you handle it. Single-phase motor capacitors can hold a lethal charge after you remove power. One guide suggests a 10-20 kΩ, 5 W resistor across the terminals.
- Wear the right PPE, especially for any test that applies voltage.
- Let a hot motor cool before you handle the frame or bearings.
How do I repair a motor, and what are the first steps?
Whether you repair motor faults yourself or send the unit out, start with records and simple checks. First, write down the full nameplate data: hp, voltage, current, speed, frame, enclosure and insulation class. Next, if the motor still runs, record its no-load current on a data sheet. That number becomes your baseline after the repair.
Then rule out problems outside the motor. Disconnect the load and turn the shaft by hand to see if it turns freely. Also check the supply voltage at the motor terminals, plus the wiring, fuses and overload. Because many “failed” motors turn out to be healthy, these checks can save you a needless repair.
How to diagnose a failed small motor
Good diagnosis is the heart of small motors repair. Split the problem into four parts: the supply, the control, the load and the motor itself. Then use the table below to match a symptom to a likely cause and a first test.
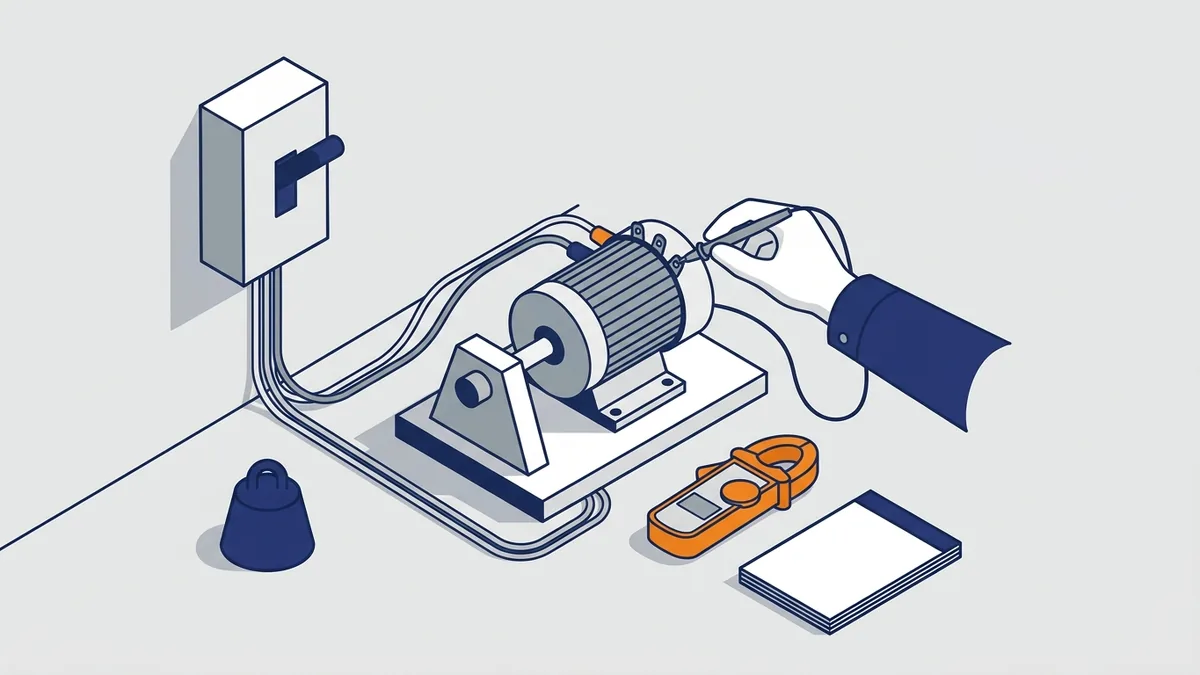
| Symptom | Likely causes | First test |
|---|---|---|
| Hums but won’t start | Open start circuit (capacitor or centrifugal switch), seized bearing, phase loss on three-phase | Turn the shaft by hand, test the capacitor, check phase voltages |
| Starts, then trips or overheats | Centrifugal switch stuck closed, overloaded driven equipment, low or unbalanced voltage, bearing drag | Measure running current and voltage, then inspect the switch |
| Noise or vibration | Worn bearings, loose mounting, misalignment, rotor rubbing the stator | Turn by hand, listen, check bearings and fits |
| Sparking at the brushes | Worn or wrong-grade brushes, dirty or rough commutator, low brush tension | Inspect brushes and the commutator surface |
| No response at all | No supply, open control circuit, open thermal protector or open winding | Measure voltage at the terminals, then check winding continuity |
| Tripped overload | Heavy load, wrong overload setting, single-phasing, shorted winding | Compare running current with the nameplate and check the overload size |
Single-phase motor hums but will not start
Why does my single-phase motor hum but not start? Most often, the start circuit is open. In a capacitor-start motor, the start winding and start capacitor create the phase shift that gets the rotor turning. Then a centrifugal switch on the rotor shaft opens at roughly 75% of rated speed to drop them out.
If the capacitor fails or the switch sticks open, the motor just hums. A seized or dragging bearing can cause the same symptom. Also, many technicians note that a motor that starts after a hand spin usually has a capacitor or switch fault. Treat that clue as a pointer, not as proof.
Three-phase motors have no start capacitor. So if a three-phase motor hums without starting, check for phase loss or voltage imbalance at the terminals. That check belongs early in any FHP motor repair on three-phase equipment.
How do I test a motor start capacitor and centrifugal switch?
You can test both parts with basic tools once the motor is locked out. Work in this order:
- Discharge the capacitor through a resistor, even if the motor has been off for a while.
- Disconnect one capacitor lead and measure capacitance with a meter that has a capacitance range.
- Compare the reading with the microfarad rating on the label. Replace a capacitor that reads out of range, reads shorted, or shows bulging or leaks.
- Open the end bell and inspect the centrifugal switch contacts for pitting or burning.
- Move the switch weights by hand and confirm they slide freely, without dirt or binding.
Replace a failed start capacitor with the same microfarad rating and the same or higher voltage rating. Never guess the value; use the label or the manufacturer’s data. Getting this right is basic to good small motors repair.
What capacitance tolerance is acceptable?
Start with the label. Many capacitors print an allowed range or a tolerance, and that range beats any rule of thumb. Run capacitors are built for continuous duty and usually carry a tight tolerance, often about ±5% or ±6%. Start capacitors are built for short duty, so their label range is wider. It often runs from the rated value up to about 20% above it.
A reading outside the printed range means you should replace the capacitor. Also, do not swap one type for the other. A start capacitor is not made to stay in the circuit, so it will fail if you use it as a run capacitor.
Why do capacitors keep failing on my motor?
Repeated capacitor failures usually point to the centrifugal switch. If the switch stays closed after startup, the start capacitor and start winding stay energized. As a result, they overheat and fail. A burned start winding often traces back to the same cause.
So fix the switch, not just the capacitor. Whenever you replace a failed capacitor or start winding, inspect the switch too. In addition, check for bearing drag, because a dragging motor may never reach switch cutout speed. Skipping these checks is a common reason small motors repair jobs come back.
Noise, heat and bearing problems
How do I tell if a motor bearing is bad? With the motor locked out and the load removed, turn the shaft by hand. Roughness, grinding, tight spots or a notchy feel all point to bearing damage. In addition, try to lift the shaft; noticeable play suggests a worn bearing or a worn fit.
When running, a bad bearing often growls, squeals or makes the end bell run hot. Bearing drag also adds load, so the motor draws more current and can overheat. On a single-phase motor, drag can stop it from reaching switch cutout speed.
If a motor has been exposed to vibration, EASA advises taking it apart to check the bearings. Replace any damaged bearings. Then check end-play and fits against the manufacturer’s data. When no manufacturer data exists, EASA publishes bearing fit charts, a useful reference for small motors repair.
How do I choose replacement bearings and seals?
First, read the number stamped on the old bearing and match it. The motor nameplate or the manufacturer can confirm the right size. Next, match the style as well: open, shielded or sealed. A shield is a thin metal cover, and a seal is a rubber lip that blocks dirt and keeps grease in. Some small motors use sleeve bearings instead of ball bearings, and those need oil, not grease.
Fit tolerances and end-play limits differ by frame and maker. So take them from the manufacturer’s data, or from EASA’s bearing fit charts when that data is missing. Do not guess these values.
For lubricant, use the type the nameplate or lubrication plate calls for. Some greases do not mix well, so do not add a different grease to old grease without checking. Also, use only the amount the manufacturer lists, because over-greasing traps heat.
How do thermal protectors and overloads behave?
Many small motors have a built-in thermal protector wired in series with the winding. When the motor gets too hot, the protector opens and cuts power. It comes in two kinds:
- Automatic reset: The protector closes again after the motor cools. As a result, the motor can restart on its own, so lock out power before you touch it.
- Manual reset: A button on the motor stays tripped until you press it. Press it only after the motor has cooled.
How do you tell a tripped protector from an open winding? First, lock out the motor and let it cool fully. Then check continuity through the motor leads or across the protector terminals. If continuity returns after cooling, the protector tripped, and your job is to find why. Common causes are overload, low voltage, blocked vents and bearing drag. If the circuit stays open after cooling, the protector or a winding has failed, so test the windings separately.
Brush and commutator problems in small DC motors
A healthy brushed DC motor tells you a lot at a glance. The brushes ride smoothly with little or no sparking and no chatter. Also, the commutator looks clean, smooth and polished brown where the brushes ride. That brown layer, called the film, helps the brushes carry current with low wear.
Your environment matters as well. Oil, paint, acid and other chemical vapors contaminate the brushes and the commutator surface. In contrast, very low humidity can let brushes wear through the polished film.
What causes sparking, threading, grooving and flashover on a DC motor commutator?
Each problem leaves its own marks. Here are the main ones and the fix for each:
- Sparking and chatter: worn, chipped or wrong-grade brushes, low spring tension, or a dirty or rough commutator. Any of these signs needs prompt service.
- Threading: fine lines on the commutator from copper moving onto the brushes. Causes include the wrong brush type, contamination and low brush pressure. Clean the commutator, clean or replace the brushes and reinstall them with proper tension.
- Grooving: worn channels in the brush track, often from abrasive dust, contamination or an abrasive brush grade. Remove the cause first. Deep grooves need resurfacing on a lathe.
- Copper drag: copper particles pulled to the edge of the segments by heavy vibration, low brush tension or abrasive brushes. Clean off the flakes and check the brush grade.
- Flashover: a short circuit across the brushes caused by copper particles, dirt and debris between segments. The motor needs a deep cleaning, especially the commutator. Often cleaning no longer works, and parts or the whole motor need replacement.
Testing the windings: resistance and insulation tests
How do I test small motor windings with a megohmmeter? A megohmmeter, often called a megger, applies about 500-1000 V DC between the windings and the frame. The reading shows how well the insulation keeps current from leaking to ground. Because of that test voltage, verify lockout before you connect the leads, and wear PPE.
- Disconnect the motor from the supply and from any drive or controls.
- Connect one lead to the winding leads and the other to a clean, bare spot on the frame.
- Apply the test voltage for 1 minute and record the reading.
- Note the winding temperature, then correct the reading to 40 °C.
- Discharge the winding to ground after the test.
Next, check winding resistance with a low-resistance ohmmeter or a good multimeter. On a three-phase motor, the three phase readings should closely match. A large difference points to an open circuit or shorted turns. On a DC armature, a bar-to-bar test compares neighboring commutator segments to find open coils, shorts and bad segments.
What winding resistance should a single-phase or three-phase motor show?
On a single-phase motor, the main (run) winding usually reads lower than the start winding. That is because the start winding uses finer wire. These readings are very small, so use a meter that reads low resistance well. There is no universal value, so compare your readings with the manufacturer’s data or a known good motor of the same model.
On a three-phase motor, you can check imbalance with a short calculation:
- Measure all three phases at the same winding temperature.
- Add the readings and divide by three to get the average.
- Find the reading that differs most from the average.
- Divide that difference by the average, then multiply by 100.
For example, readings of 4.0, 4.0 and 4.2 ohms average 4.07 ohms. The biggest difference is 0.13 ohms, so the imbalance is about 3%. Limits vary, so ask the manufacturer or your shop for the limit it uses. In any case, a reading that stands out from the other two deserves a closer look.
What insulation resistance is acceptable for a small motor?
As summarized by a test-instrument guide, IEEE 43-2013 sets a minimum of 5 MΩ at 40 °C for random-wound windings. Most small motors use random-wound windings. Form-wound coils, found in larger machines, need at least 100 MΩ.
Temperature correction matters, because insulation resistance falls as temperature rises. It roughly halves for every 10 °C rise. For example, a 20 °C rise means two halvings, so 5 MΩ at 20 °C is about 1.25 MΩ at 40 °C. So an uncorrected reading can make a weak winding look fine.
The polarization index (PI) is the 10-minute reading divided by the 1-minute reading. The same summary gives a minimum PI of 2.0 for Class F and H insulation and 1.5 for Class A. However, PI may not mean much when the 1-minute reading is above 5 GΩ.
Why the IEEE 43 edition matters
Sources conflict on these minimums. One summary of IEEE 43-2000 gives “kV + 1 MΩ” for older windings, while 2013 summaries give the values above. So name the edition you follow, and check the current IEEE 43 text before you treat any value as the standard. Also, ask for temperature-corrected readings on every small motors repair report.
Repair or replace a small motor?
Should I repair or replace a small motor?
No single horsepower cutoff decides this. Still, just over half of plants automatically replace failed motors below a set horsepower, according to a 2014 Plant Engineering study for EASA. A policy saves time, but it can also scrap a motor that only needed bearings.
EASA’s repair/replace decision tool asks several useful questions. First, does the failed motor suit the application? Next, did it exceed its rated temperature and leave the stator or rotor in poor condition? Also, does it have special features that make a replacement hard to find? Finally, the tool weighs availability and the efficiency of a good-practice repair against a new motor.
In practice, small motors repair usually makes sense for mechanical faults like bearings, seals and shafts. On the other hand, badly degraded windings on a common stock motor often favor replacement. Keep in mind that the EASA/AEMT 2003 rewind study tested 24 motors. Of those, 22 were rated 50-300 hp and two were 7.5 hp, so it says little about small motors.
How is the payback of replacing versus repairing calculated?
EASA gives a simple payback formula for a higher-efficiency replacement:
Simple payback = (new motor cost + incremental installation cost − rewind/repair cost − utility rebate) ÷ (energy charge savings + demand charge savings)
If you enter yearly savings on the bottom line, the result is in years. A short payback favors replacement. In contrast, a long payback or a hard-to-get replacement favors repair. The formula also keeps small motors repair decisions consistent across your plant. You can find EASA’s decision tools in the EASA Resource Library under Repair/Replace decisions, along with the EASA Guide to AC Motor Repair and Replacement.
Find the root cause before you decide
When you replace a motor, root cause failure analysis is essential. Without it, the new motor can fail the same way, and soon. For example, a binding pump or a wrong overload setting will damage a new motor just as fast as the old one. Root cause work belongs in every small motors repair too.
A quick repair-or-replace checklist
- Is the fault mechanical, such as bearings, seals or a shaft? Lean toward repair.
- Are the windings badly degraded on a common stock motor? Lean toward replacement.
- Does the motor have special features or a hard-to-find replacement? Lean toward repair.
- Does the payback on a more efficient motor look short? Lean toward replacement.
- Was the motor a poor fit for the job? Replace it with one that suits the application.
- Do you know why it failed? Find out before you choose either option.
What a proper small motors repair involves
How do I repair a small electric motor?
A professional small motor rebuild follows a set sequence. Whether the job is a bearing swap or a full small motor rewind, the typical steps are:
- Incoming inspection: record nameplate data, the reported problem and as-found test results.
- Disassembly, with parts marked so they go back the same way.
- Cleaning of windings, parts and housings.
- Electrical and mechanical tests, such as winding resistance, insulation resistance, bearing fits and end-play.
- Repair or replacement of all broken or worn parts and fits. This includes defective stator core laminations (the thin steel sheets that form the core).
- Rewind, if the winding failed, using the original winding data.
- Reassembly, then final electrical tests and a run test.
Mechanical work is more common than rewinding. In an EASA-commissioned study, 49% of motors considered for repair needed mechanical repairs, compared with 30% for electrical rewinds. For details on the rewind itself, see our stator winding guide.
What is ANSI/EASA AR100 and why does it matter?
ANSI/EASA AR100 is the Recommended Practice for the Repair of Rotating Electrical Apparatus. The current edition is AR100-2025. It describes recordkeeping, tests, analysis and general guidelines for repairing induction, synchronous and DC machines. As a result, repairs follow a consistent method that yields greater reliability once the motor is back in service.
EASA also runs an accreditation program based on AR100 and the Good Practice Guide. That guide came from the 2003 EASA/AEMT study, The Effect of Repair/Rewinding on Motor Efficiency. It shows that shops can maintain efficiency through repair and rewind by following defined good practices. In addition, EASA Tech Note 16 gives guidelines for keeping efficiency during a rebuild.
Why repair practice affects efficiency and torque
Changes made during rebuilding can alter a motor’s efficiency, torque and other traits. For example, a different wire size or turn count can change how the motor performs. So a shop that keeps the original winding data and follows AR100 avoids those surprises. You can read more about AR100 at the EASA Electromechanical Resource Center and in Plant Engineering’s coverage of motor maintenance trends.
Small DC motor repair, step by step
How do I repair a small DC motor? At the plant level, most small DC motor repair is brush and commutator care. Follow these steps, and know where to stop:
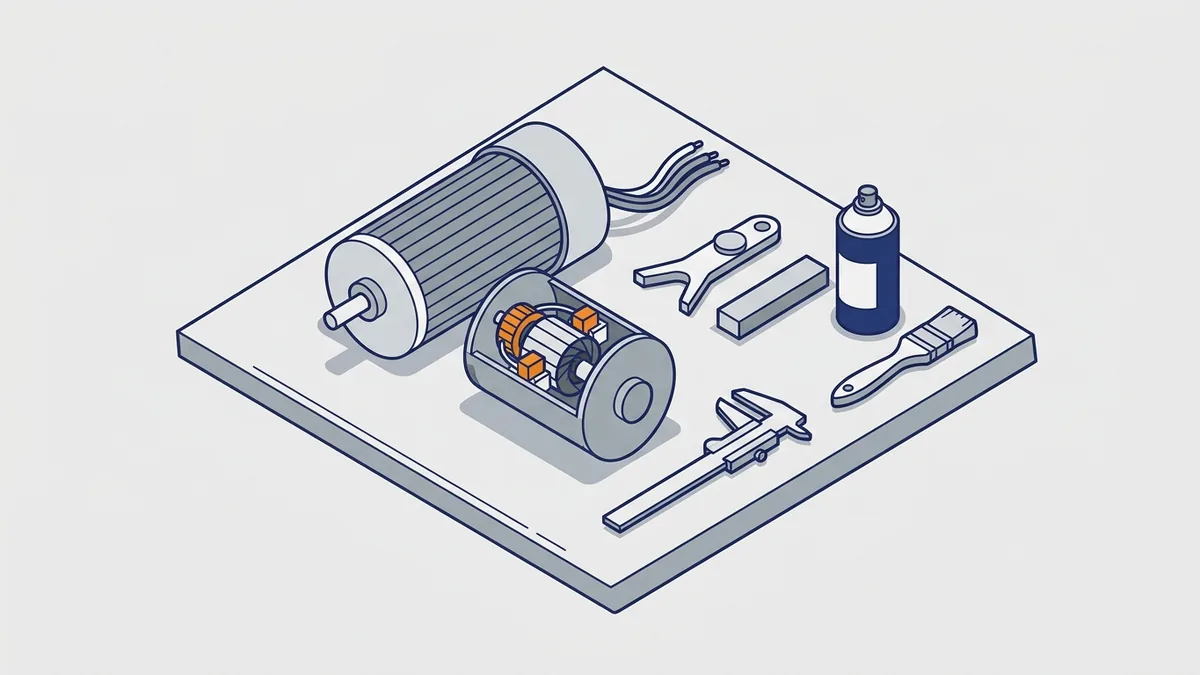
- Lock out power, then open the brush covers.
- Inspect each brush for length, shape, chipping and contamination. Also check spring tension and that each brush slides freely in its holder.
- Replace worn brushes only with the manufacturer’s dimension, grade and type. Check the motor manual, or ask a qualified brush expert.
- Check brush box clearance. Boxes more than 1/8 in from the commutator can let brushes jump or chip.
- Clean the commutator. If the surface is rough, it needs resurfacing.
- Seat the new brushes so they match the commutator curve. A commutator or brush seating stone is a common tool; use it only per its instructions, with guards and PPE in place.
- Run in the new brushes at reduced load. Expect some sparking until the polished brown film re-forms.
What brush wear limits and commutator specs apply?
These values change with the motor and the brush maker, so no single number fits every small DC motor. That covers minimum brush length, spring pressure, mica undercut depth and acceptable commutator runout. Get each one from the motor manual or from the brush manufacturer’s data. Do not guess, because the wrong spring pressure or a bad undercut can wear brushes fast.
Runout is how far the commutator surface wobbles as it turns. A shop measures it with a dial indicator, which is one more reason to send a rough commutator out for service.
When to send a small DC motor to a shop
Some faults go beyond brush care. Shop-level small motors repair on DC units often needs a lathe, an armature tester or rewind equipment. Send the motor out for:
- Flashover damage or burned commutator segments
- A shorted or open armature or field coil
- A commutator that needs turning, undercutting or segment repair
- A bent shaft or worn bearing fits
Our DC Electric Motor Repair guide covers these repairs in more depth. Also, our 800 HP DC motor post shows the same ideas applied to a large machine.
Small electric motor repair: do it yourself or send it out?
Can I repair a small electric motor myself?
Yes, for many common faults, if you have the tools, training and safe procedures. Many plants repair small electric motor faults in-house when the work is simple and the parts are known. However, rewinds and precision machining belong in a shop. In-house small motors repair usually splits like this:
| Do in-house | Send to a shop |
|---|---|
| External cleaning and clearing vents | Rewinds of any kind |
| Brush changes with the correct grade and size | Armature and commutator work |
| Start capacitor changes with the correct rating | Shaft damage or worn fits |
| Bearing swaps where the fits are known and in spec | Special-duty and servo motors |
| Centrifugal switch cleaning and checks | Motors under warranty and hazardous-location motors |
Warranty and hazardous-location motors
Warranty work is a special case. If the motor is still under warranty, use a shop the manufacturer authorizes, or you may lose coverage. Hazardous-location motors also need special repair practices to stay safe for that location. So send both types to a qualified shop rather than handling them in-house.
How do I repair or replace a small motor on a VFD or in a hazardous location?
A variable frequency drive (VFD) feeds a motor fast voltage pulses that stress the winding insulation. For that reason, a motor on a VFD should have inverter-duty insulation. NEMA MG 1 Part 31 covers motors built for inverter use. Ask your shop whether a rewind will use inverter-duty wire and insulation, and say up front that a drive runs the motor.
Drives can also cause bearing currents. These are small currents that pass through the bearings and can pit them. Shops often fix this with insulated bearings or a shaft grounding ring. If a drive-fed motor keeps losing bearings, raise this with your shop.
For explosion-proof motors, do not repair them in-house. These motors are certified to UL standards, and the repair must keep the original construction and fits that make them safe. Choose a shop qualified for hazardous-location work, and ask what proof it can show before you send the motor.
How to choose a small electric motor repair shop
What should I look for in small electric motor repair shops?
Many motor service centers belong to EASA and repair to the EASA Recommended Practice. That is a good start, but ask more before you send out a motor. When you compare small electric motor repair shops, a good partner for small motors repair should answer each of these clearly:
- Do you repair to ANSI/EASA AR100?
- Are you EASA-accredited? Accreditation gives third-party assurance of repair practices.
- What warranty do you give, and is it in writing?
- Are you authorized by the manufacturer for motors still under warranty?
- Will you send before-and-after test data with the motor?
- How do you maintain efficiency during a rewind or rebuild?
- Can you meet my timeline, and can you also repair the drive or control?
A good shop also tells you when replacement makes more sense. So be wary of a shop that always recommends repair or never explains its findings.
What small motors repair costs and how long it takes
How much does small motors repair cost, and how long does it take? There is no fixed price list or standard turnaround, because each job depends on what the teardown finds. These factors drive both cost and time:
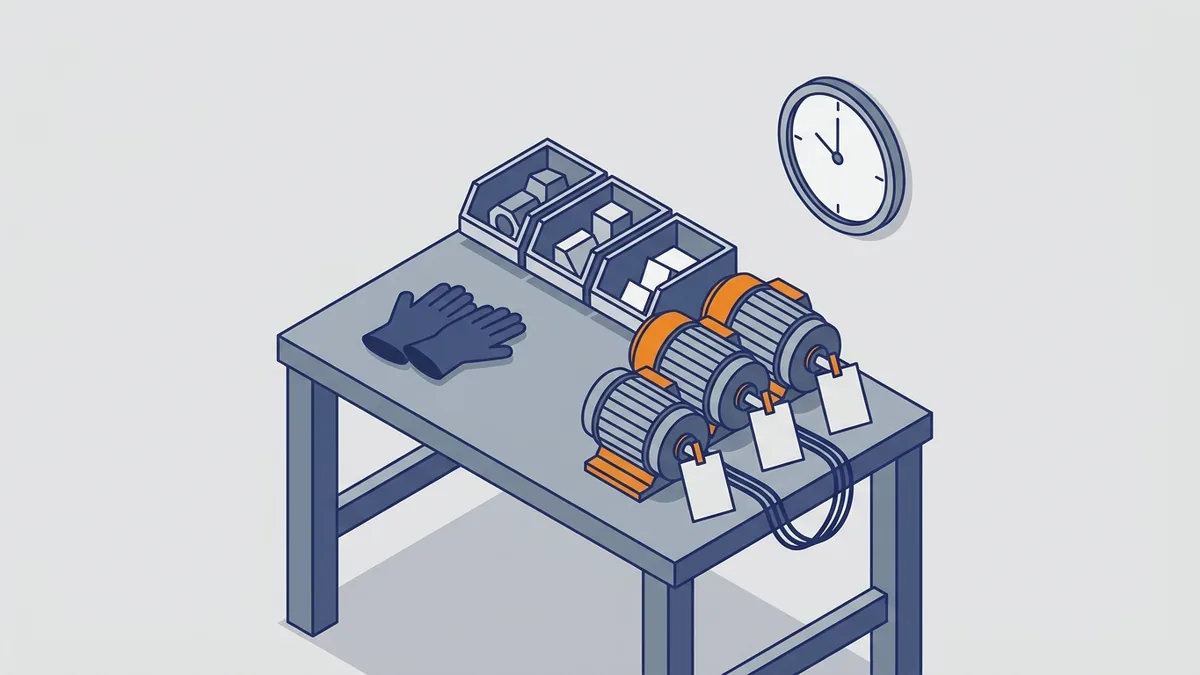
- Motor type: single-phase, three-phase, brushed DC or servo
- Whether the motor needs a rewind or only mechanical work
- Parts needed, such as bearings, capacitors, switches or brushes, and how easy they are to get
- How urgent the job is
- How soon you could get a suitable replacement motor
Use the EASA payback formula above to compare repair with a more efficient replacement. Then ask the shop for a written quote after the teardown inspection. That quote should list the findings, the proposed work and the expected return date. With those facts, fractional horsepower motor repair becomes a clear business decision.
Do DOE small electric motor efficiency rules apply to a replacement?
They can. The DOE rules cover new motors in the federal “small electric motor” class described earlier. So a new replacement in that class must meet them, while a repaired motor is not a new motor. A motor outside that class, such as a brushed DC or a shaded-pole unit, falls outside that definition. Check the DOE scope of coverage for your exact motor before you buy.
Testing and returning a repaired motor to service
How do I test and start a repaired motor safely?
Before the motor goes back on the line, review the shop’s tests and run your own checks. A good test report includes insulation resistance, winding resistance and a high-potential (hipot) test. The hipot test applies a high voltage to prove the insulation can withstand stress. Ask for these results with every small motors repair.
Current NEMA MG 1 lists a dielectric test of 1500 V for 1 minute for motors rated 1/2 hp or less and 250 V or less. Motors rated 1/2 hp or less and over 250 V, and all motors above 1/2 hp, use 1000 V plus twice rated voltage for 1 minute. Because repeated hipot tests stress insulation, leave this test to the shop and ask which level it used.
First start: EASA’s before-service steps
- Lock out and tag out all energy sources while you install and connect the motor.
- Inspect and clean the motor to “as shipped” condition.
- If the motor was exposed to vibration in storage or transit, take it apart and check the bearings. Replace any damaged bearings.
- Briefly start the motor to check rotation and operation.
- If it vibrates, makes unusual noise or gives off odors, de-energize it immediately and find the cause.
- Purge old or excess grease by running the motor at no load for 10-20 minutes, then replace the drain plugs.
- Record the no-load current and compare it with the value on your data sheet.
Many small motors use sealed bearings with no drain plugs. In that case, skip the grease purge step.
Common mistakes in small motors repair
What are common mistakes in small motors repair? These errors cause many repeat failures:
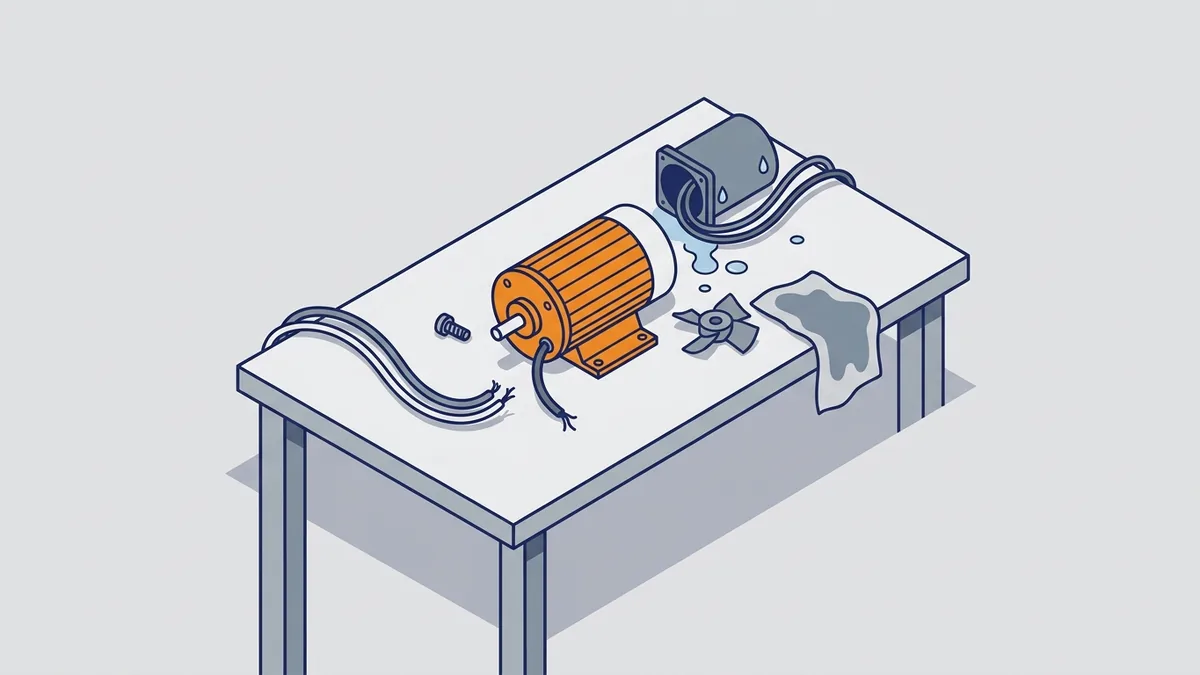
- Replacing capacitors over and over without checking the centrifugal switch
- Installing the wrong brush grade or size on a DC motor
- Skipping root cause analysis, so the same fault kills the next motor
- Ignoring bearing fits and end-play when swapping bearings
- Over-greasing, which can push grease into the windings and trap heat
- Reading insulation resistance without correcting it to 40 °C
- Cutting corners on a rewind or rebuild, which can change efficiency and torque
Each mistake is easy to avoid with a checklist. For example, add a switch check to every capacitor change and a temperature note to every megger test.
Preventing repeat failures after a small motor rebuild
How do I prevent repeat motor failures?
The best small motors repair is the one you never need. A few habits make a big difference:
- Set a brush and commutator inspection schedule based on manufacturer data and how hard the motor works.
- Keep spare brushes and start capacitors of the correct grade and rating.
- Keep motors clean and the vents clear so they cool properly.
- Record no-load current and vibration, and watch the trend over time.
- Set your repair/replace policy and payback limits before a breakdown, not during one.
Trending is the key. A slow rise in current or vibration warns you early. As a result, you can plan a repair instead of reacting to a failure.
Frequently asked questions
What is a small motor?
Under NEMA MG 1, a small (fractional) motor is built in a two-digit frame series, or in a frame smaller than the medium-motor frame rated 1 hp at 1700-1800 rpm. A motor rated under 1/3 hp and under 800 rpm also counts. In everyday use, the term usually means a motor under 1 hp, and both meanings work for small motors repair planning.
Why does my single-phase motor hum but not start?
Usually the start circuit is open, from a failed start capacitor or a stuck centrifugal switch. Discharge the capacitor, then test it against its label rating. Also check that the switch contacts and weights move freely. A seized bearing can cause the same symptom.
Is it worth repairing a small electric motor?
No single horsepower cutoff applies, although many plants automatically replace failed motors below a set hp. Mechanical small motors repair, such as a bearing job, is usually worth doing. Badly degraded windings on a common motor often favor replacement. Compare repair cost, replacement cost and availability, and run the EASA payback formula.
How do I choose a small electric motor repair shop?
Look for a shop that repairs to ANSI/EASA AR100, ideally one that is EASA-accredited. Ask for a clear written warranty and before-and-after test data. If the motor is still under warranty, confirm the shop is authorized.
How do I repair a small DC motor?
Disconnect and lock out power, then inspect the brushes and commutator. Replace worn brushes with the manufacturer’s grade and size, clean the commutator, seat the new brushes and run them in at reduced load. Flashover damage, burned segments or armature faults need a shop.
What insulation resistance should a small motor have after repair?
As summarized from IEEE 43-2013, random-wound windings should read at least 5 MΩ at 40 °C. Correct your reading for temperature first. Then check the current IEEE 43 text for the edition you follow, because summaries of older editions give different values.
Small motors repair goes faster and lasts longer when you diagnose first, decide repair or replace with real numbers, and use a shop that works to AR100. Find the root cause every time, and the same motor will stop coming back. If you need help with a diagnosis, a repair quote or a replacement motor, contact Precision Electric.